Once your timetable is running, the next thing to sort out is payments. This guide walks through the payment setup wizard so you can start sending invoices to your students. If you haven’t yet added prices and students, take a look at Getting Started with Scheduling first.
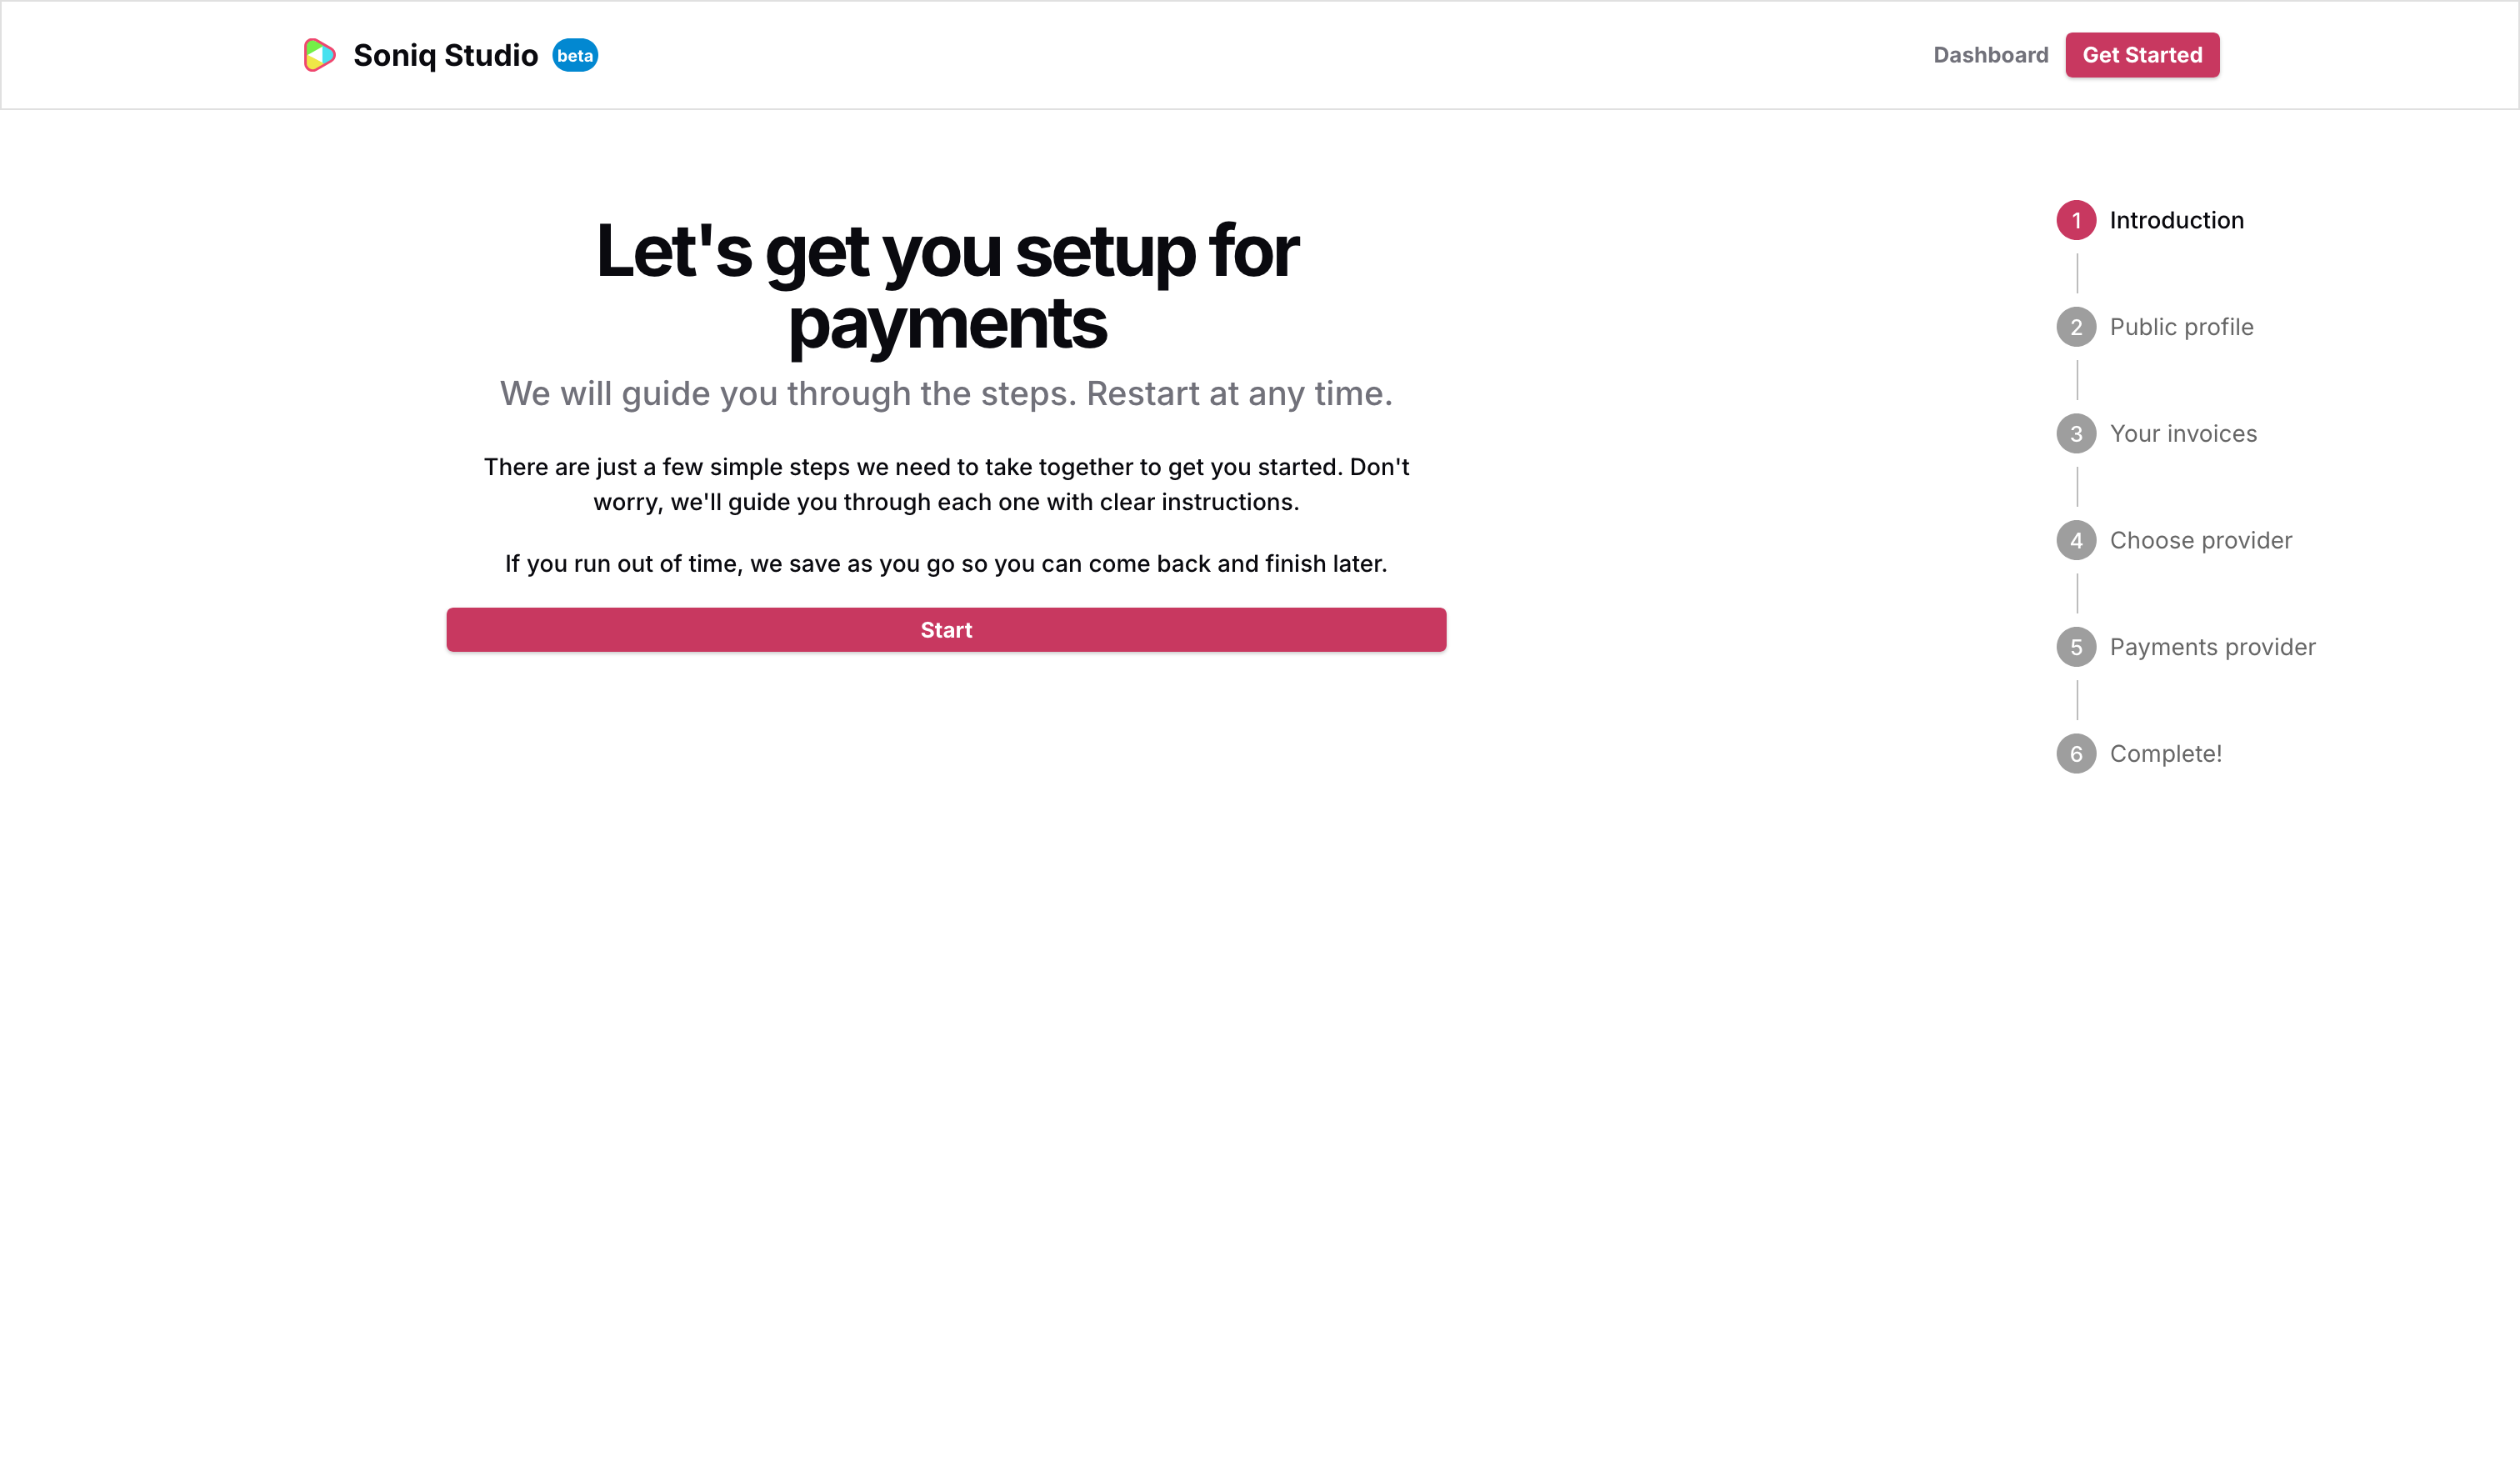
From the Dashboard, click Setup payments to launch the guided setup wizard. You can save your progress at any point and come back later.
Your public profile
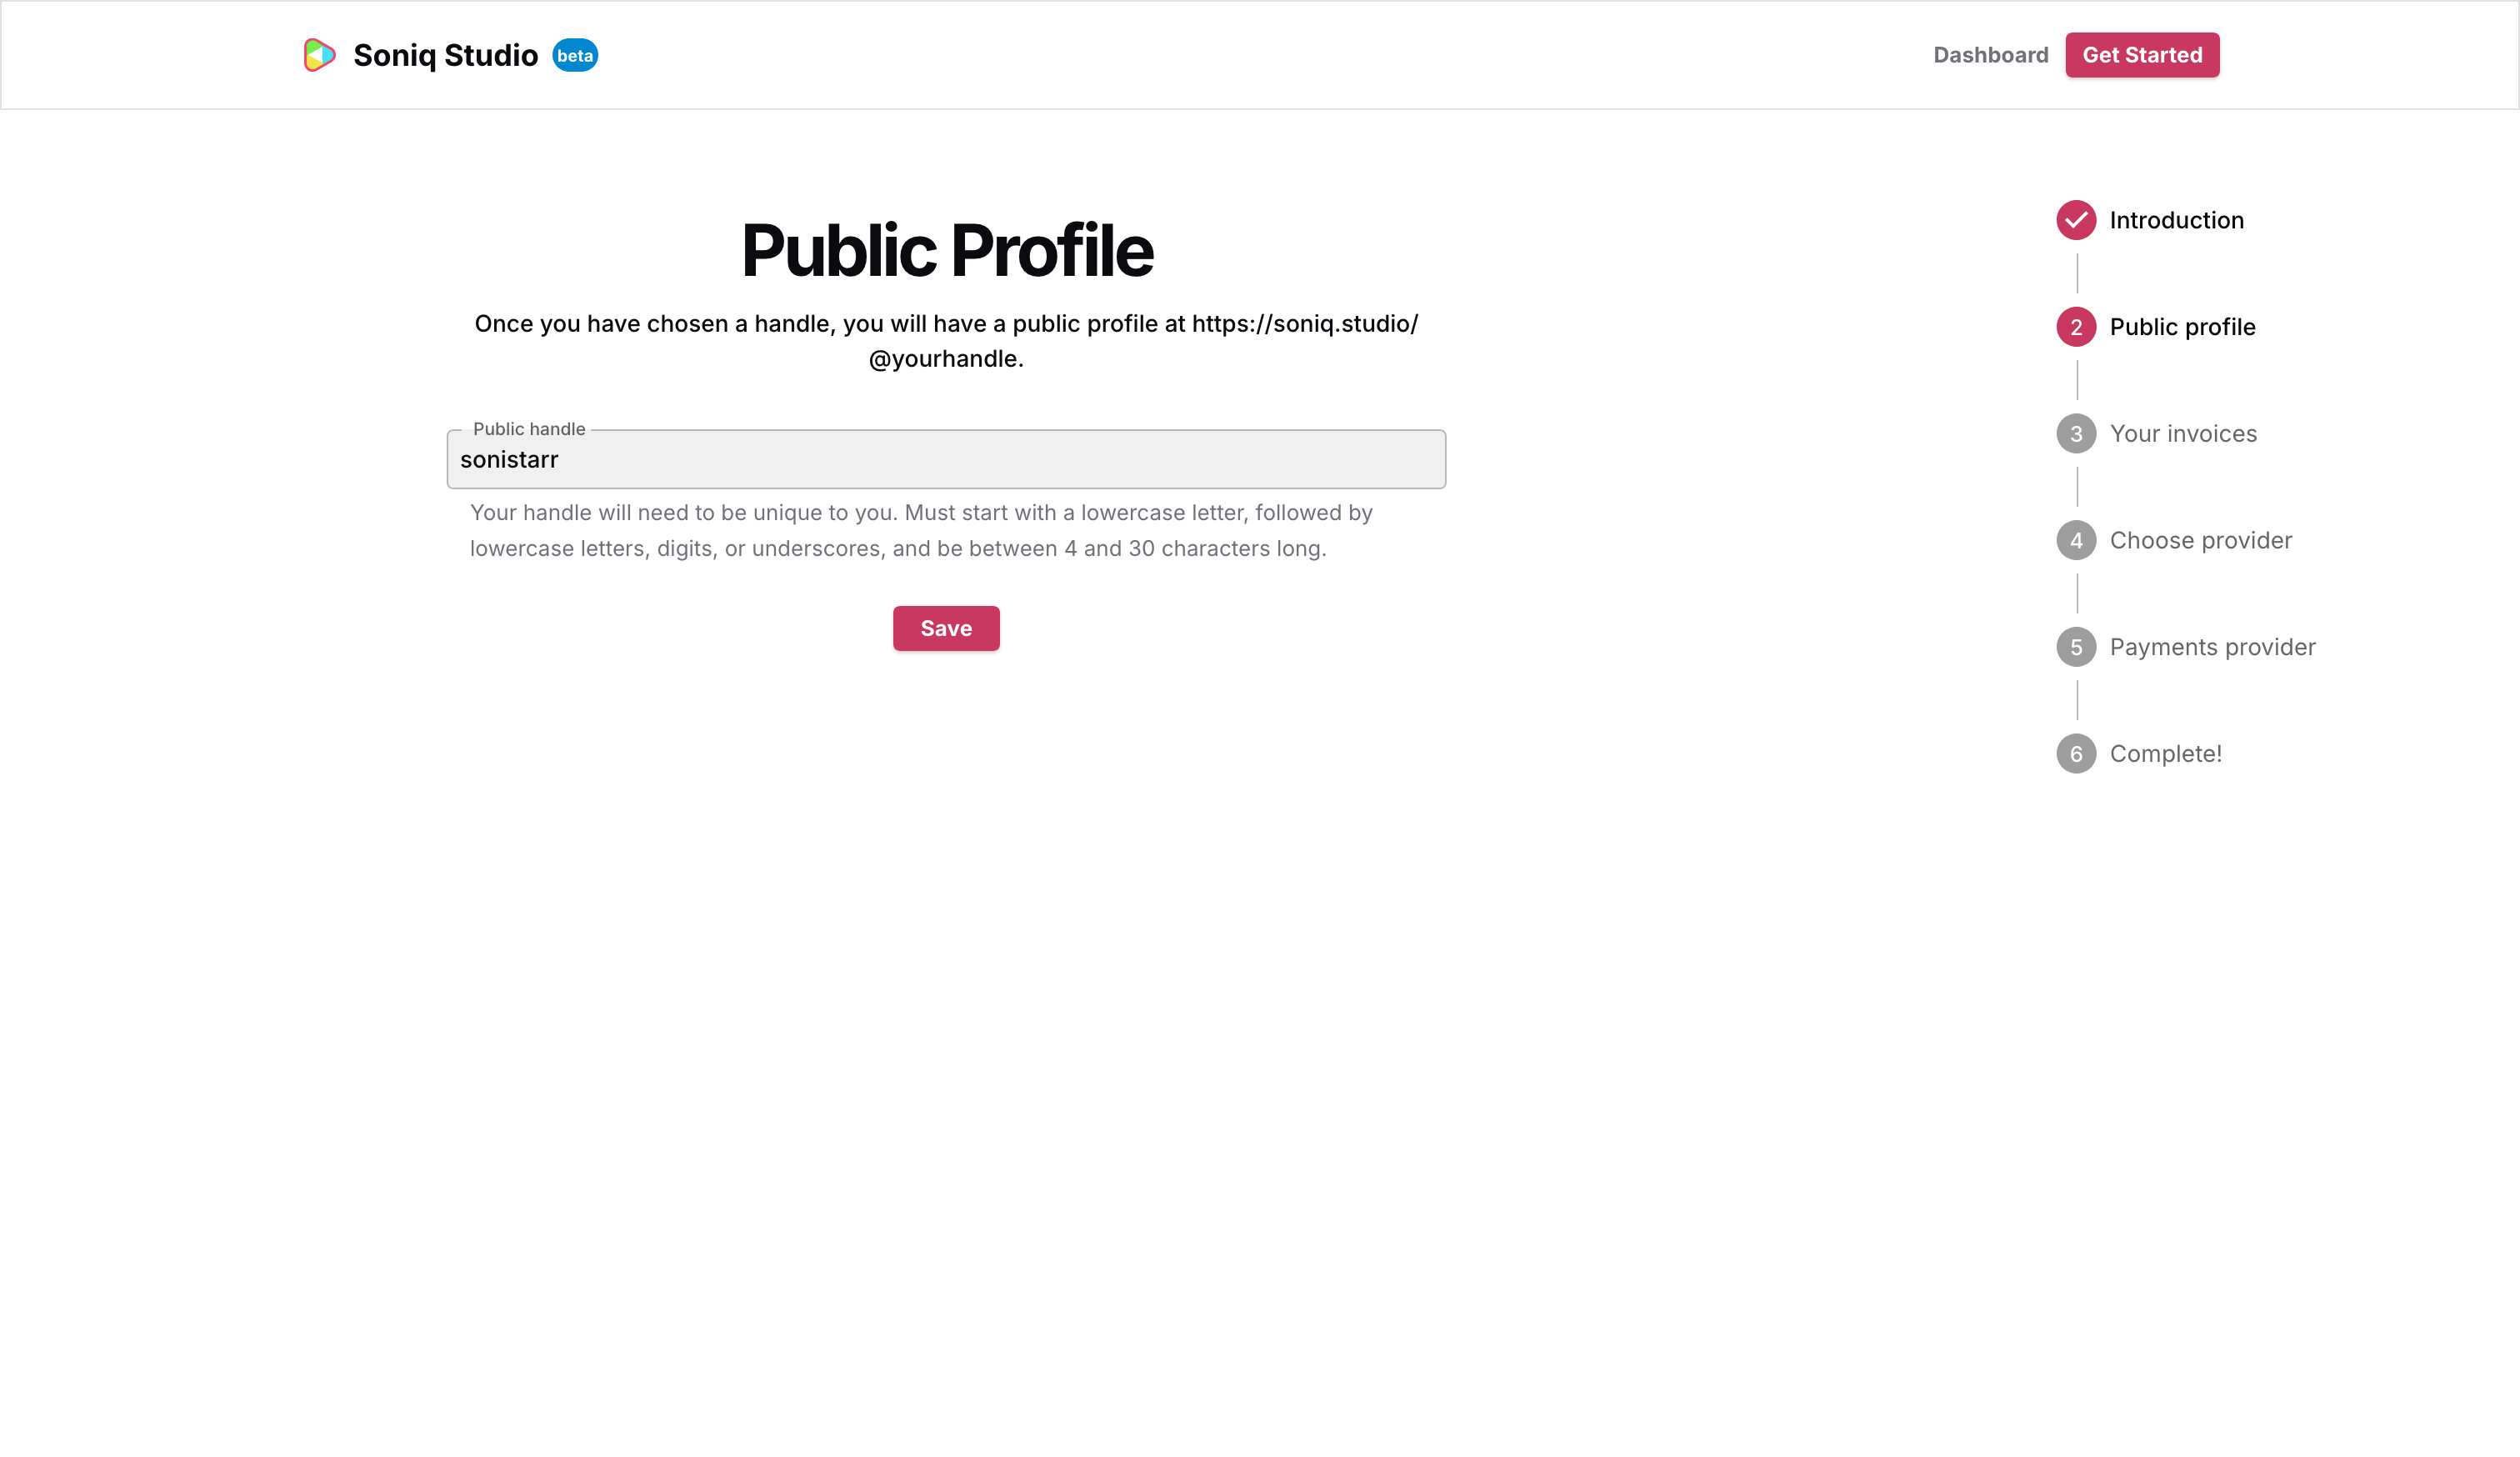
The first thing to set up is your public handle — a unique URL at soniq.studio/@yourhandle that will be linked from your invoices. Soni uses sonistarr.
Online payment providers require you to have a public profile, which is why we ask for this handle as well as a short description about you.
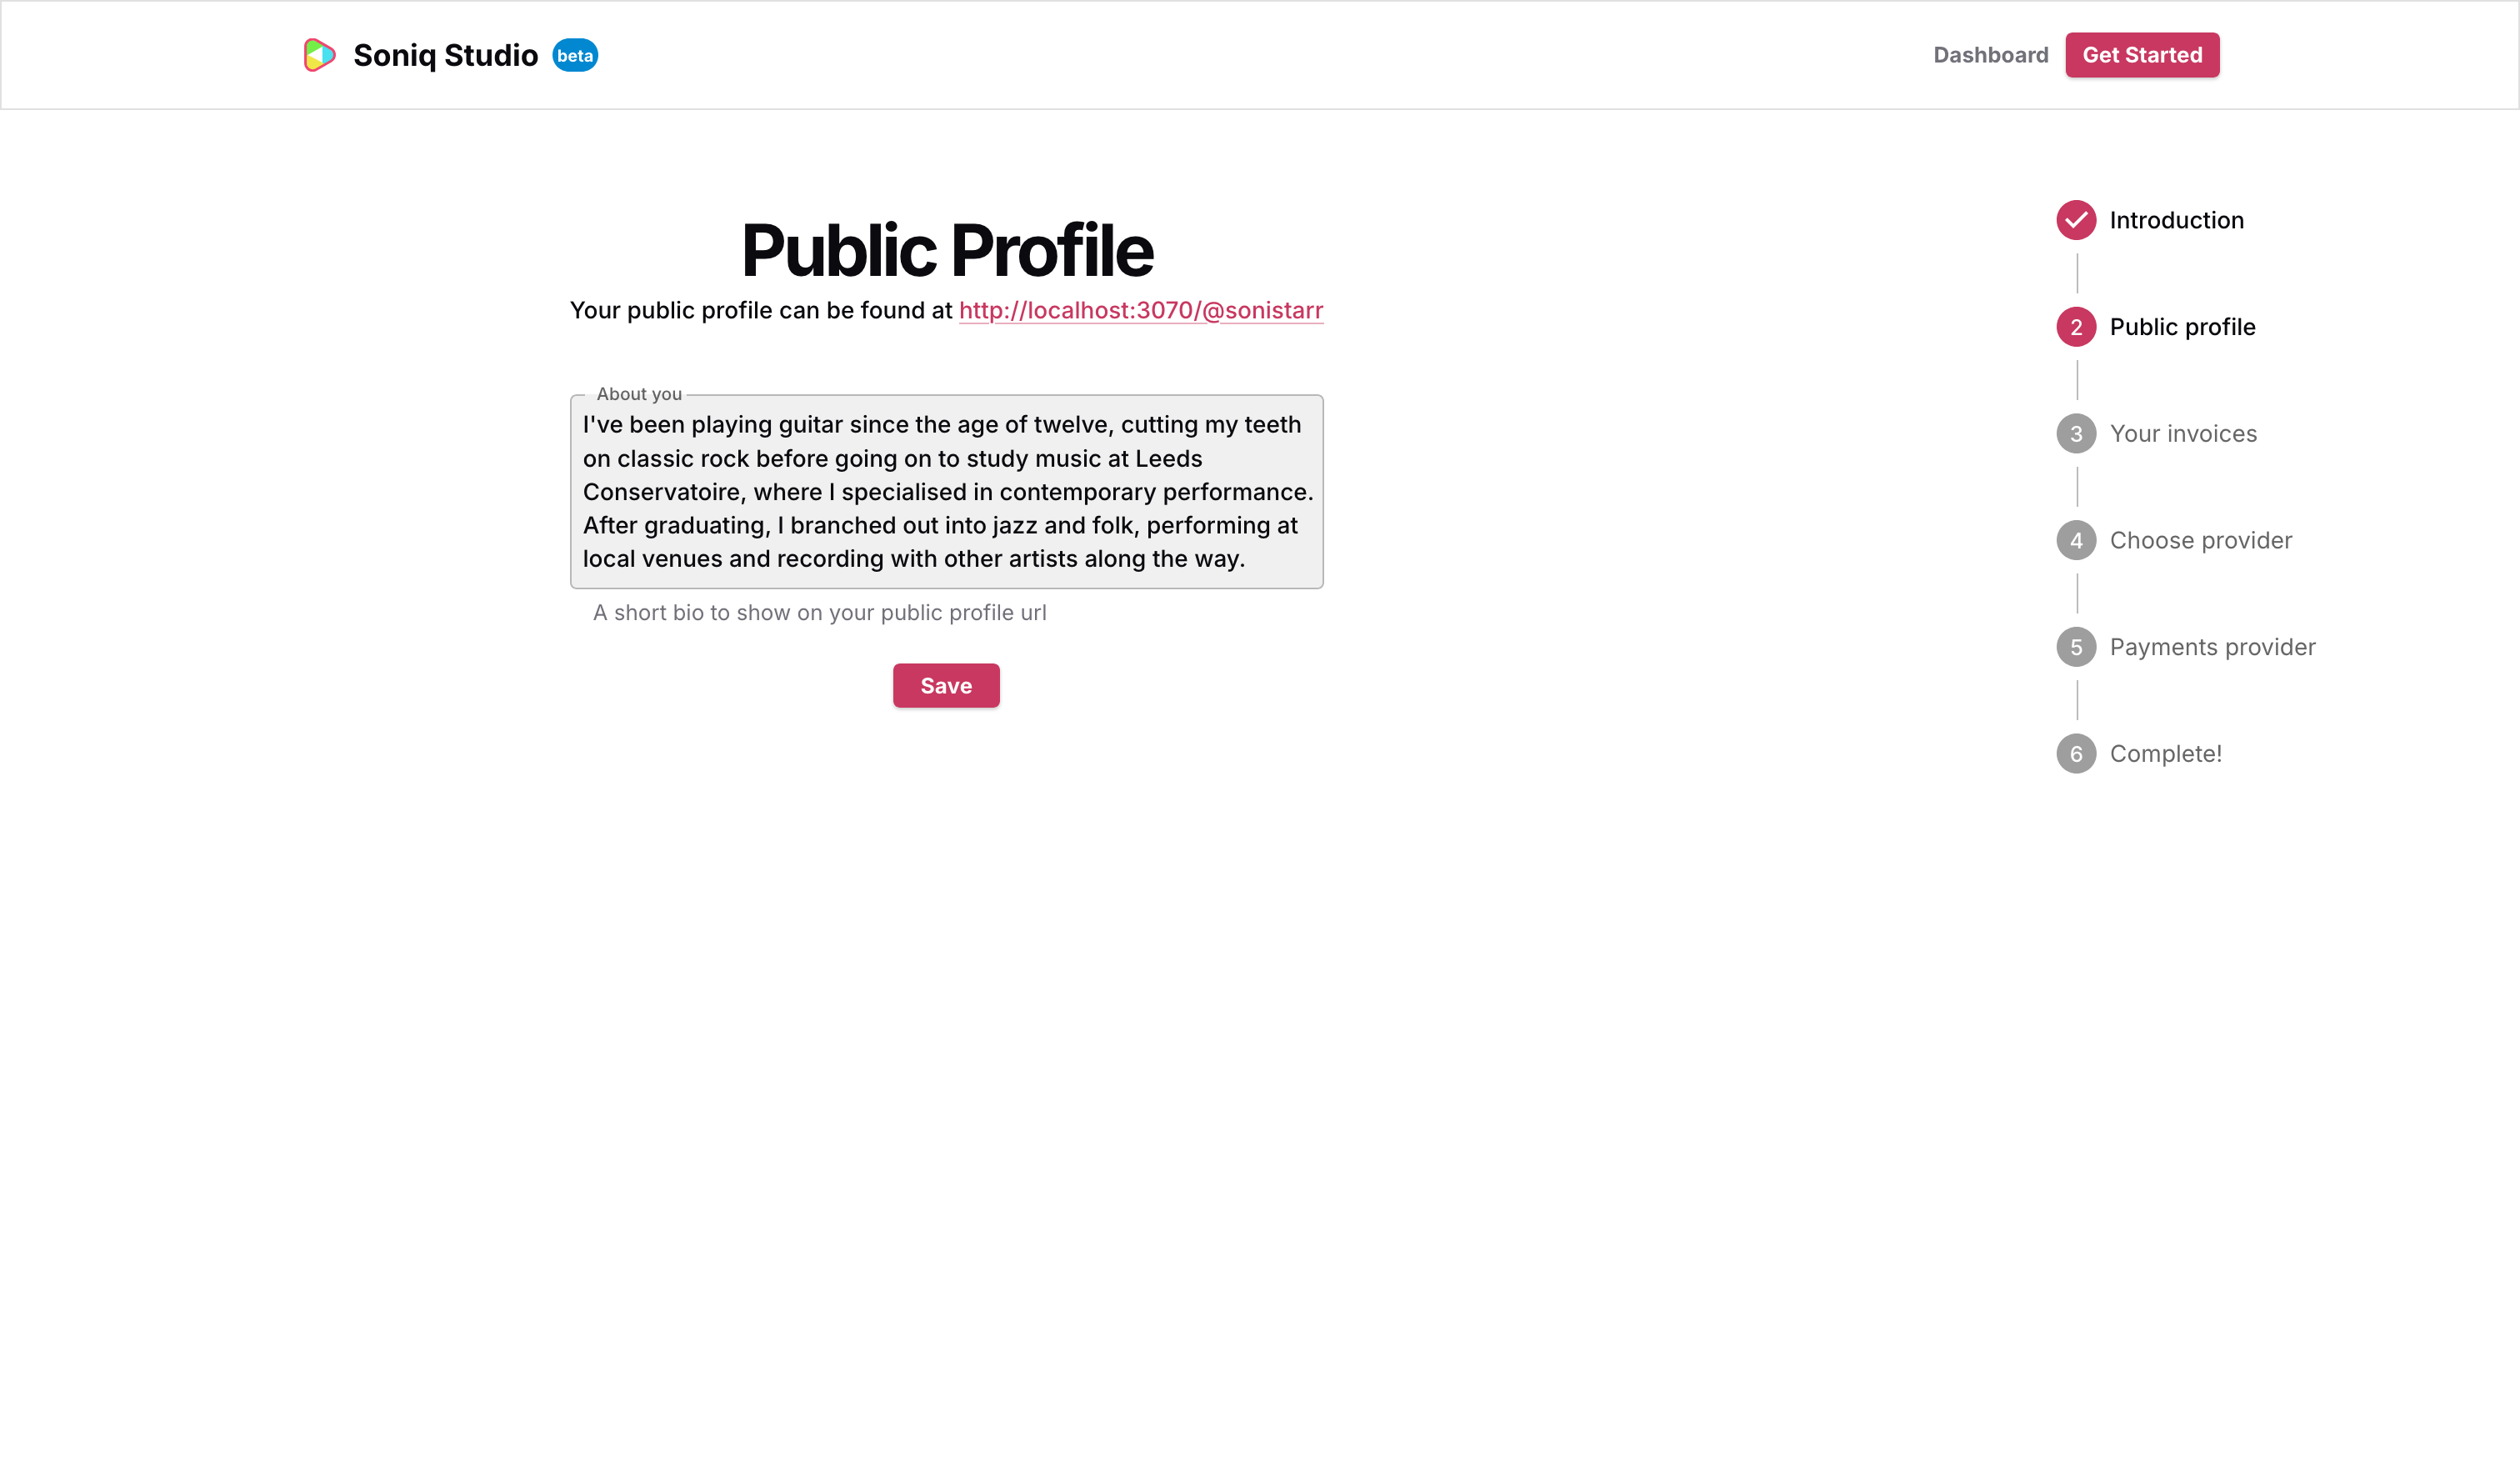
Next add a short bio, which will appear on your public profile page. This is a good opportunity to introduce yourself to students who want to know a little more about you.
Once you save, you’ll see a confirmation and a prompt to set up your invoice details.
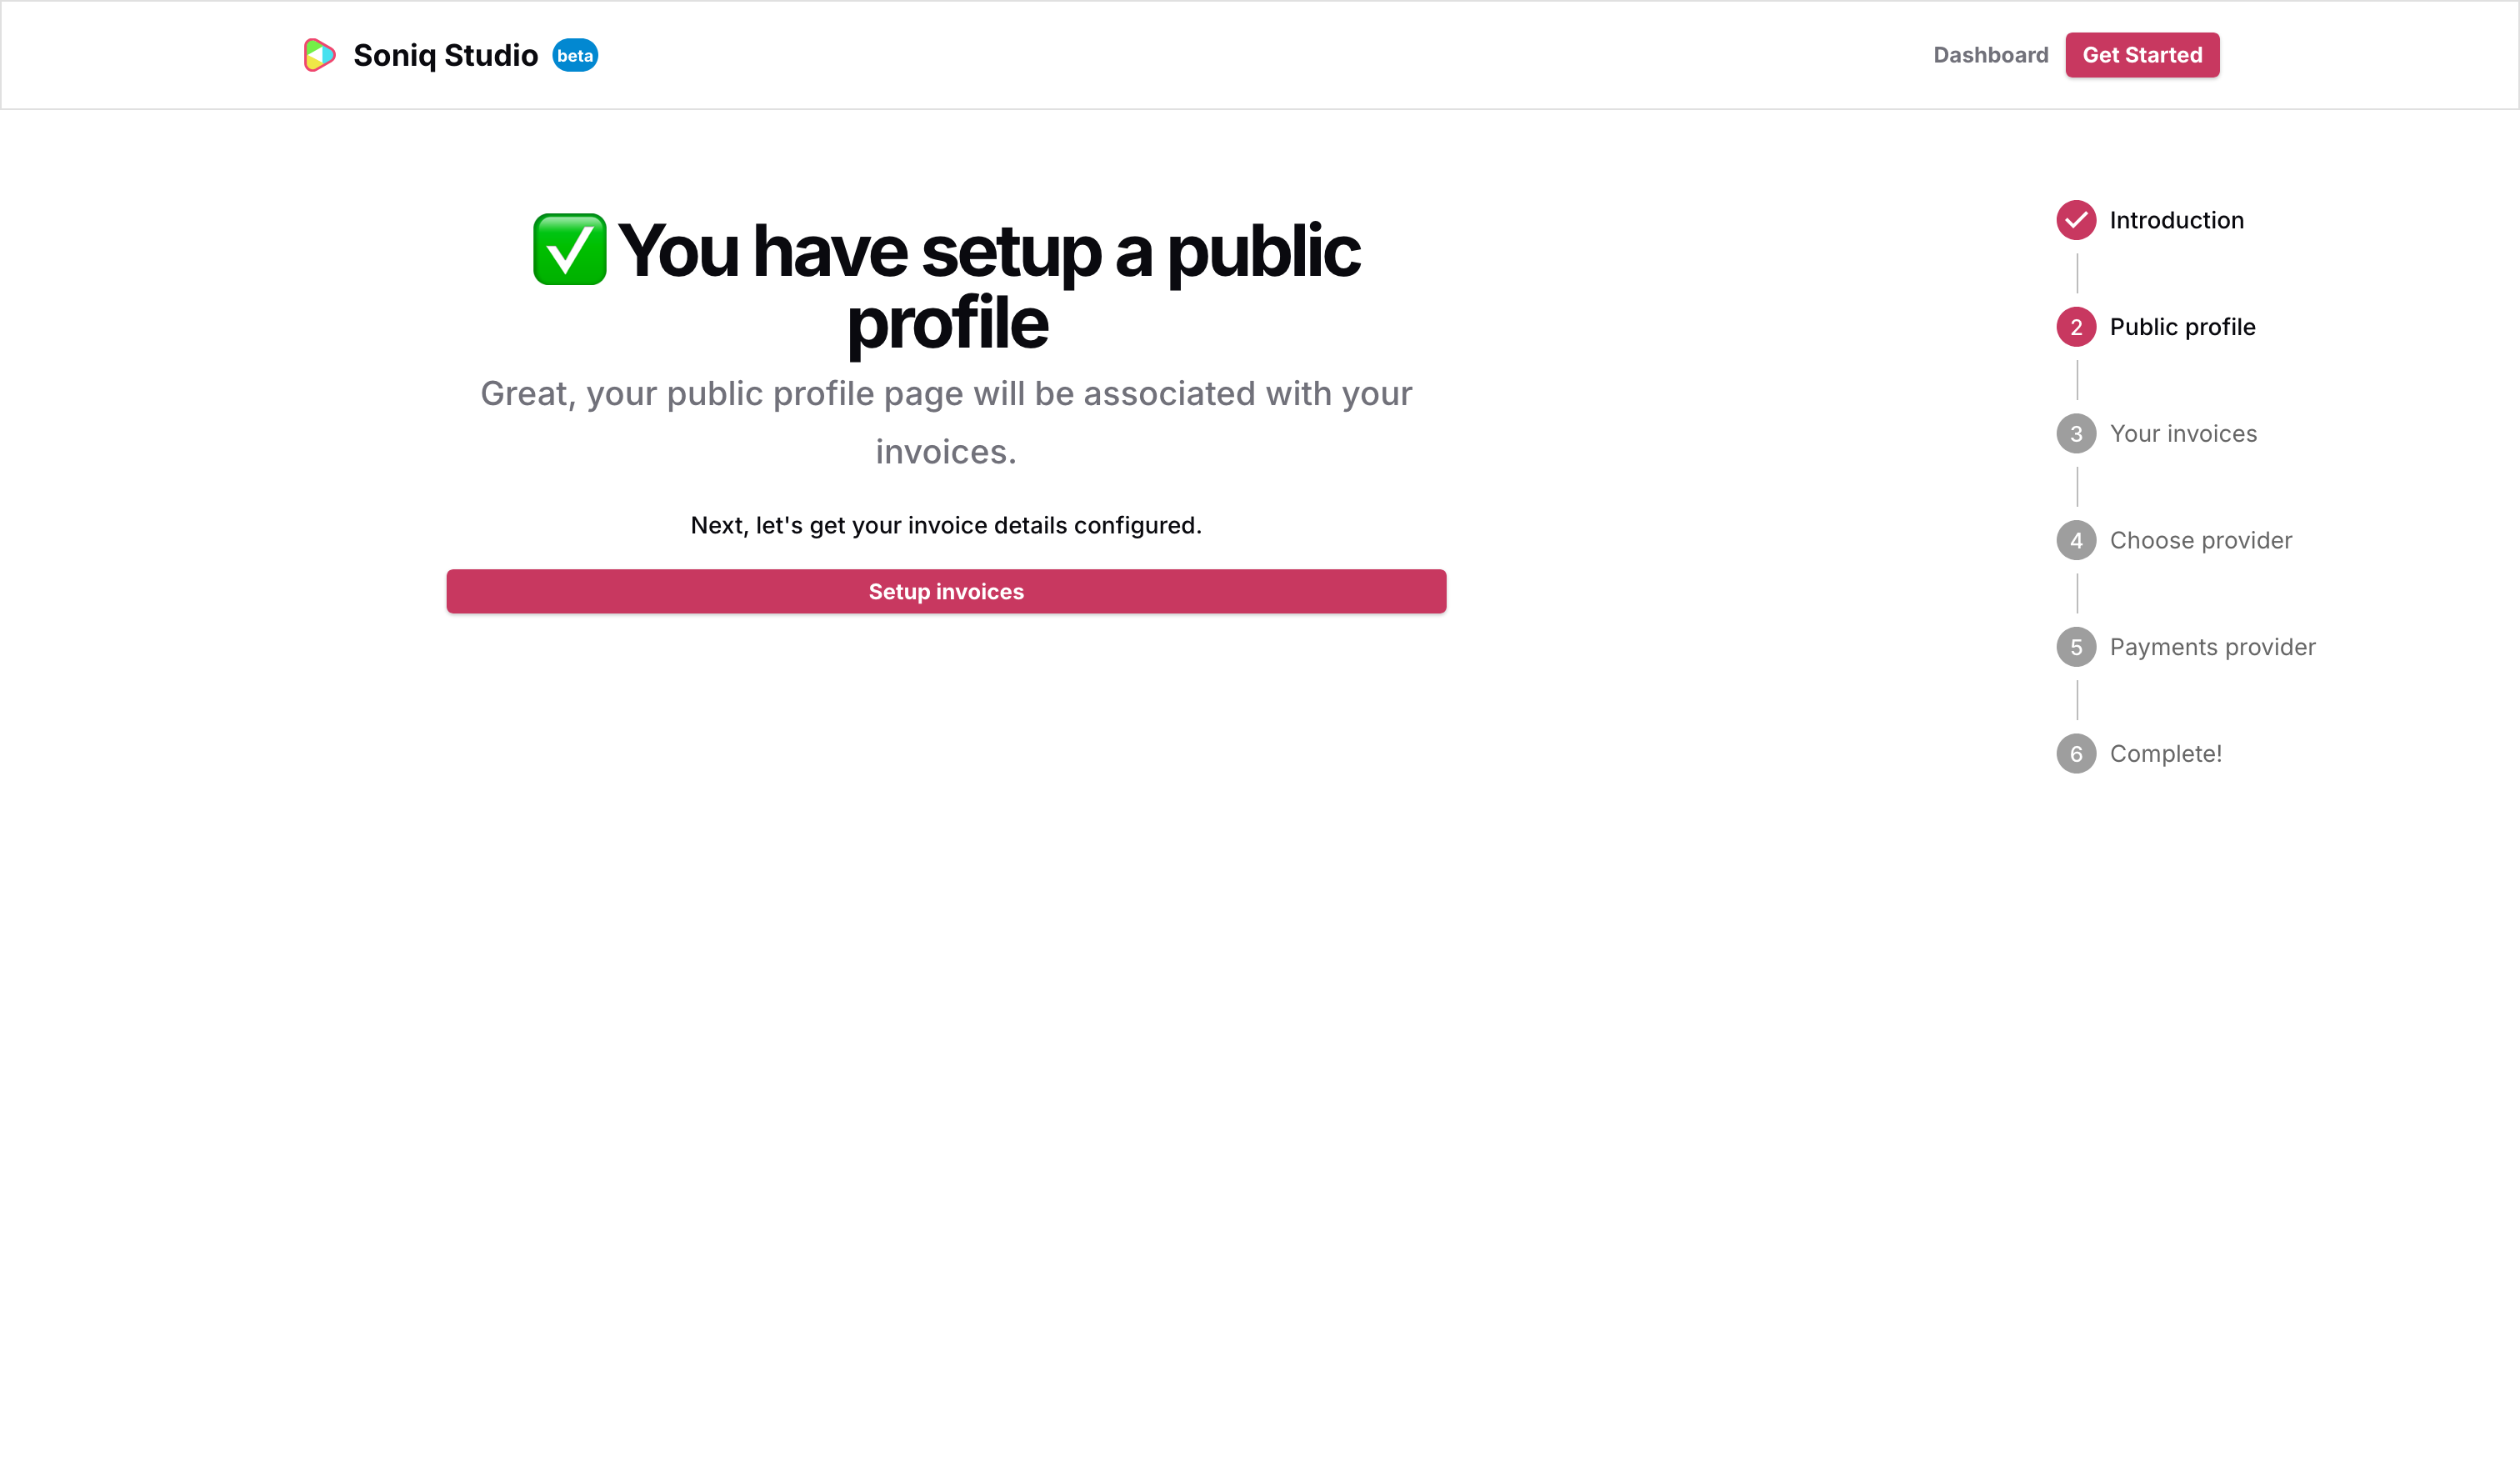
Invoice details
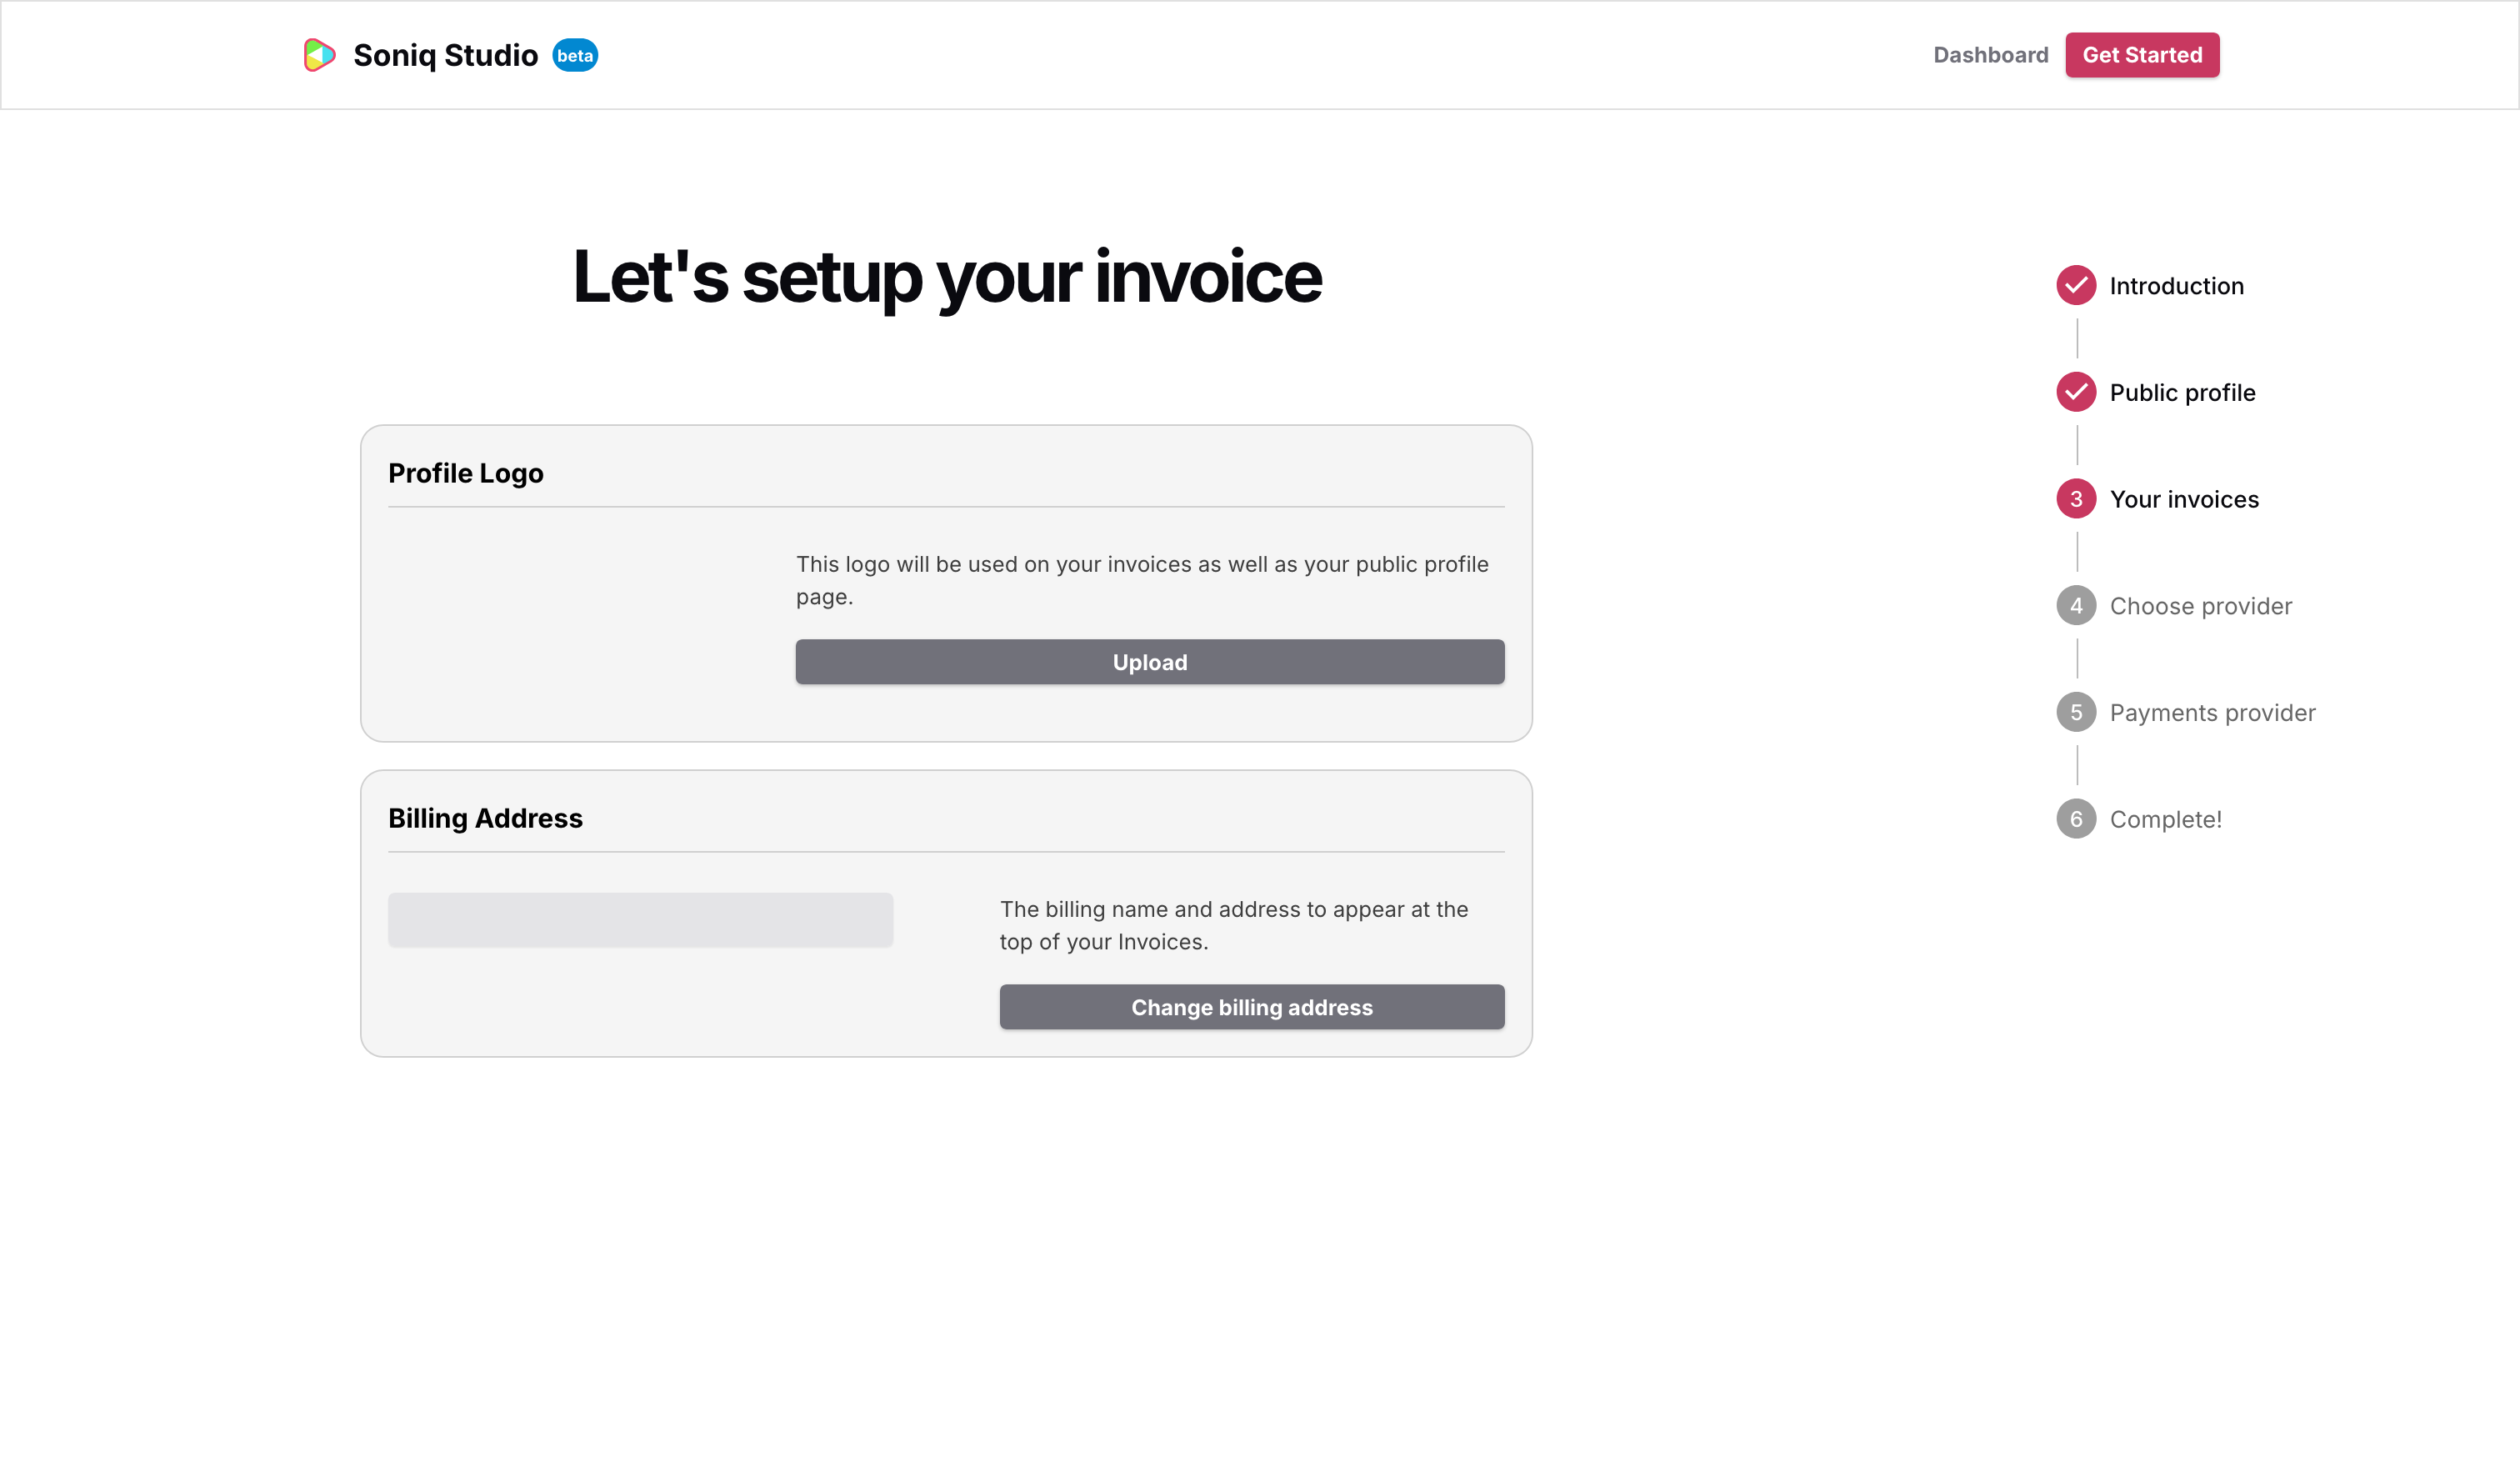
Next, add a profile logo and billing address. The logo appears on every invoice you send, and the billing address is printed at the top. Soni uploads a logo and fills in their studio address in Liverpool.
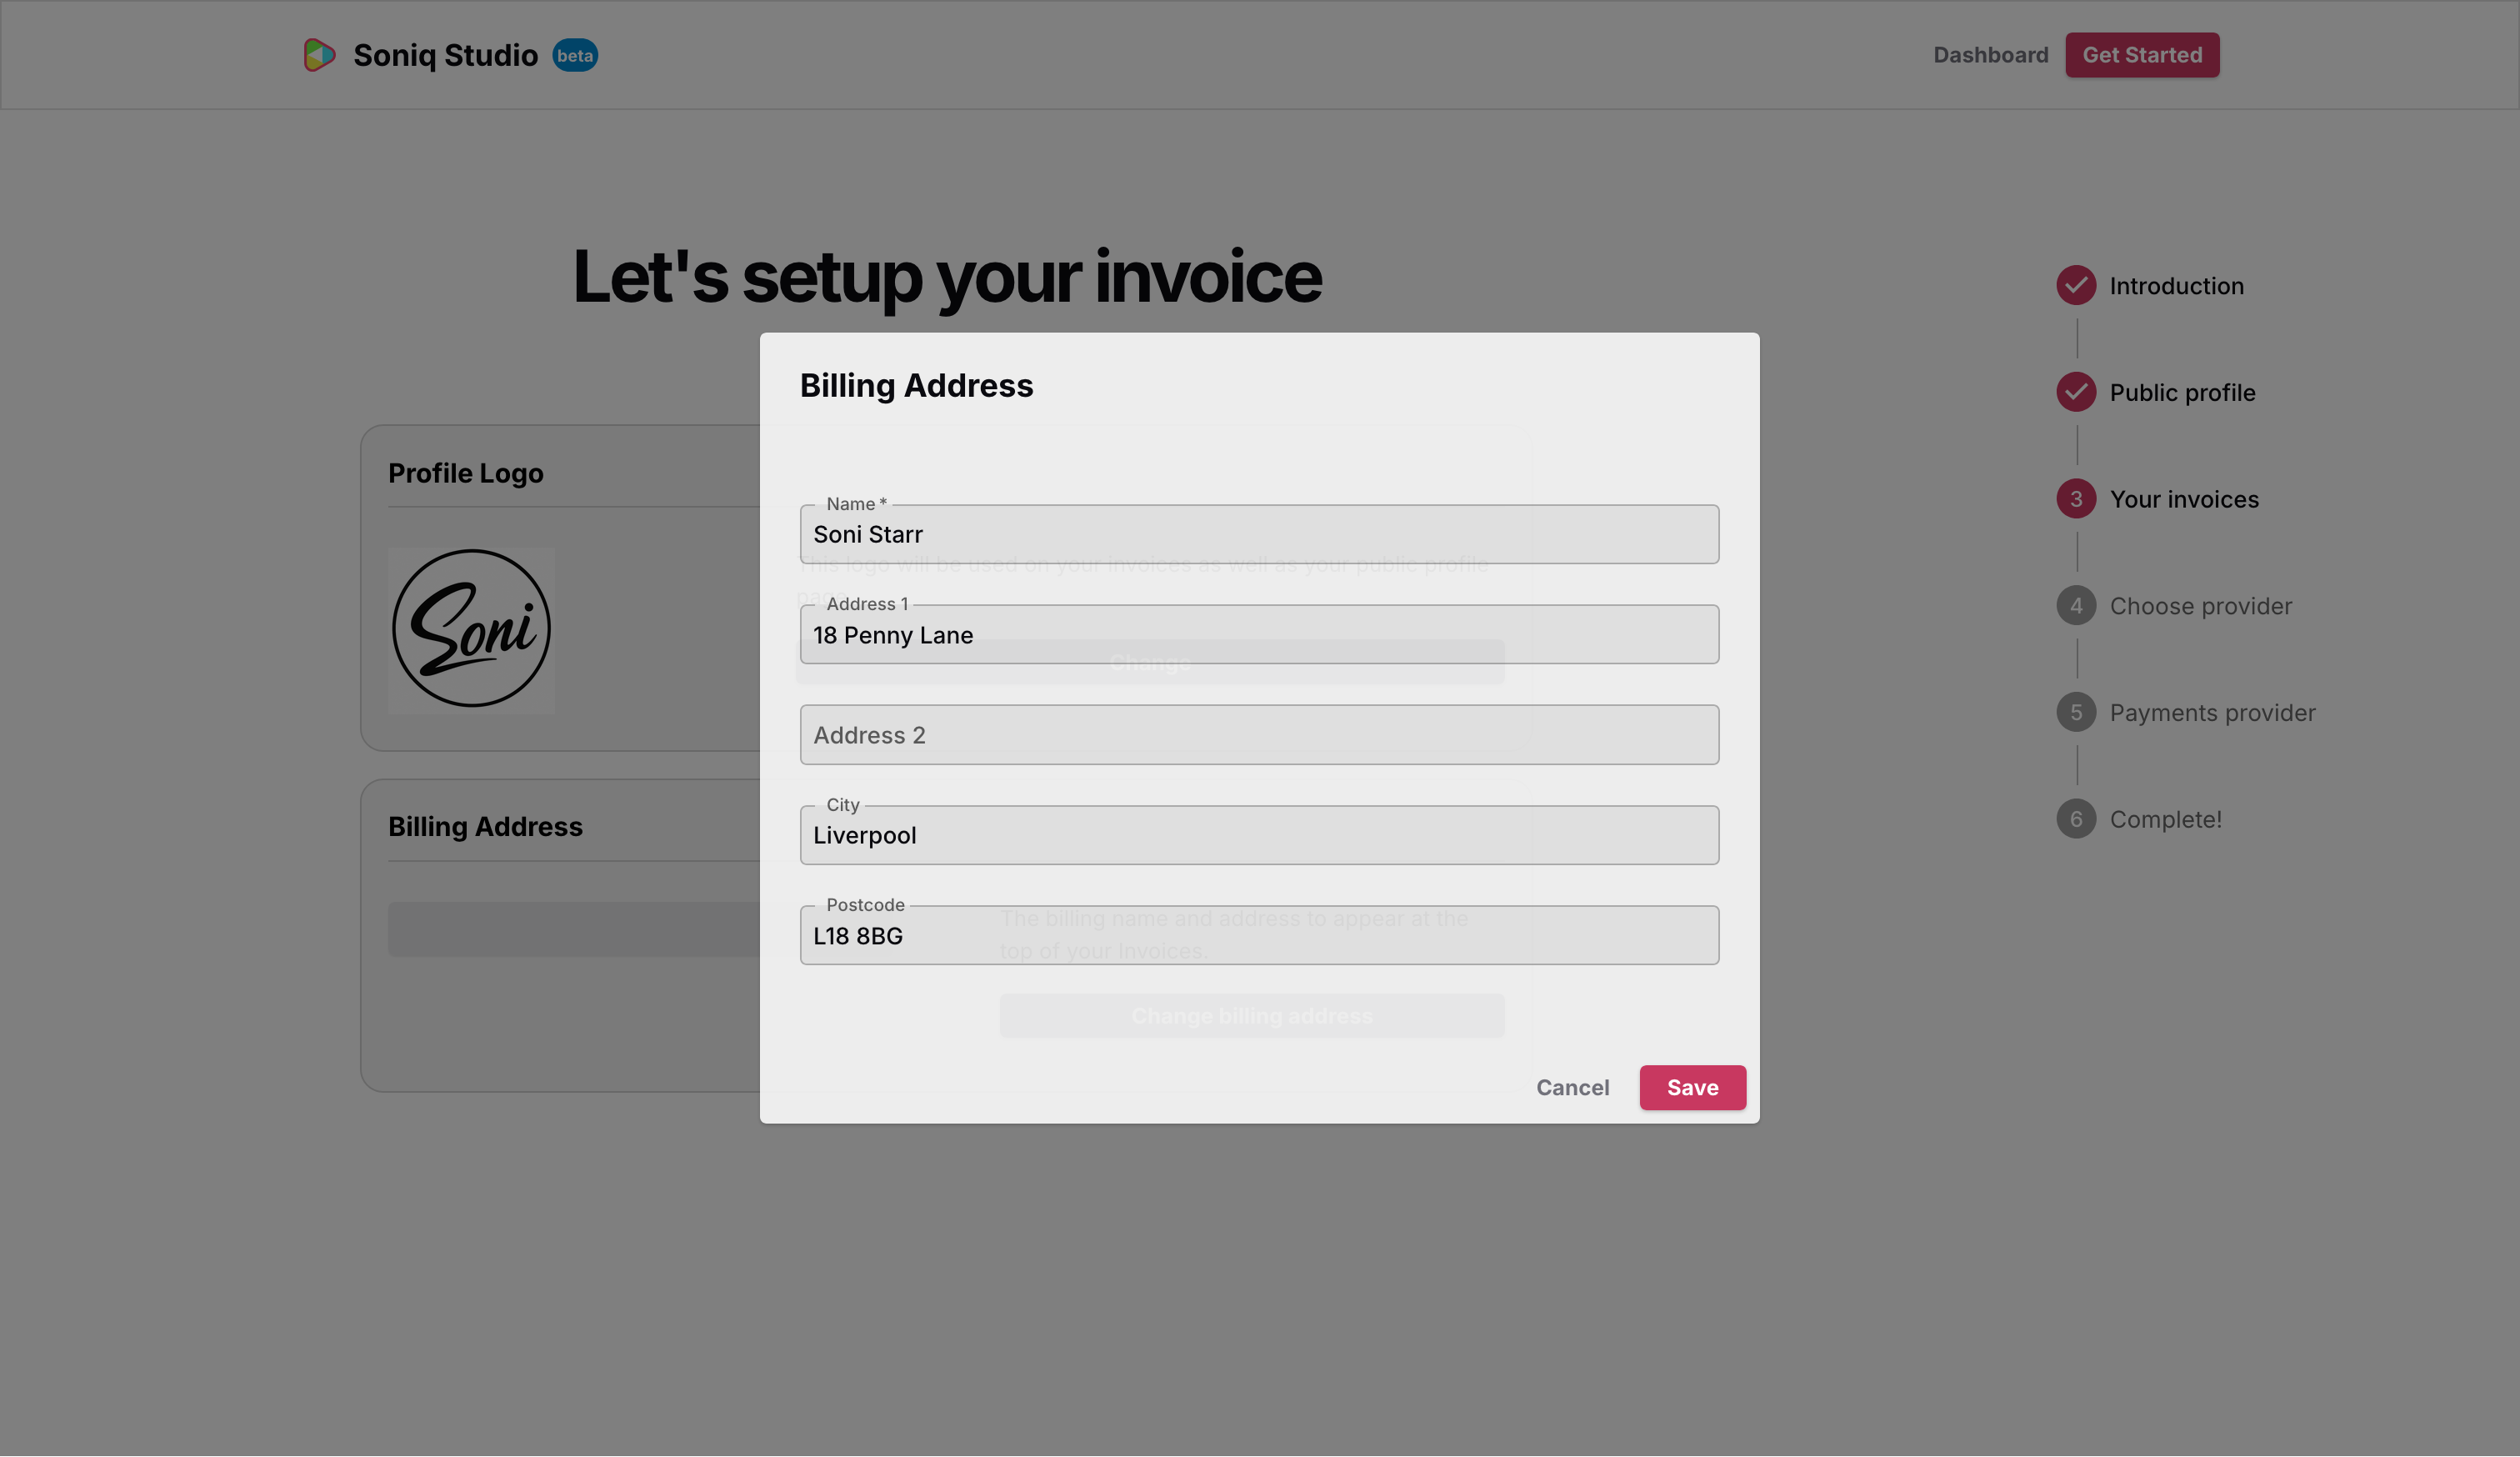
Once saved, you’ll be invited to choose how you’d like to receive payments.
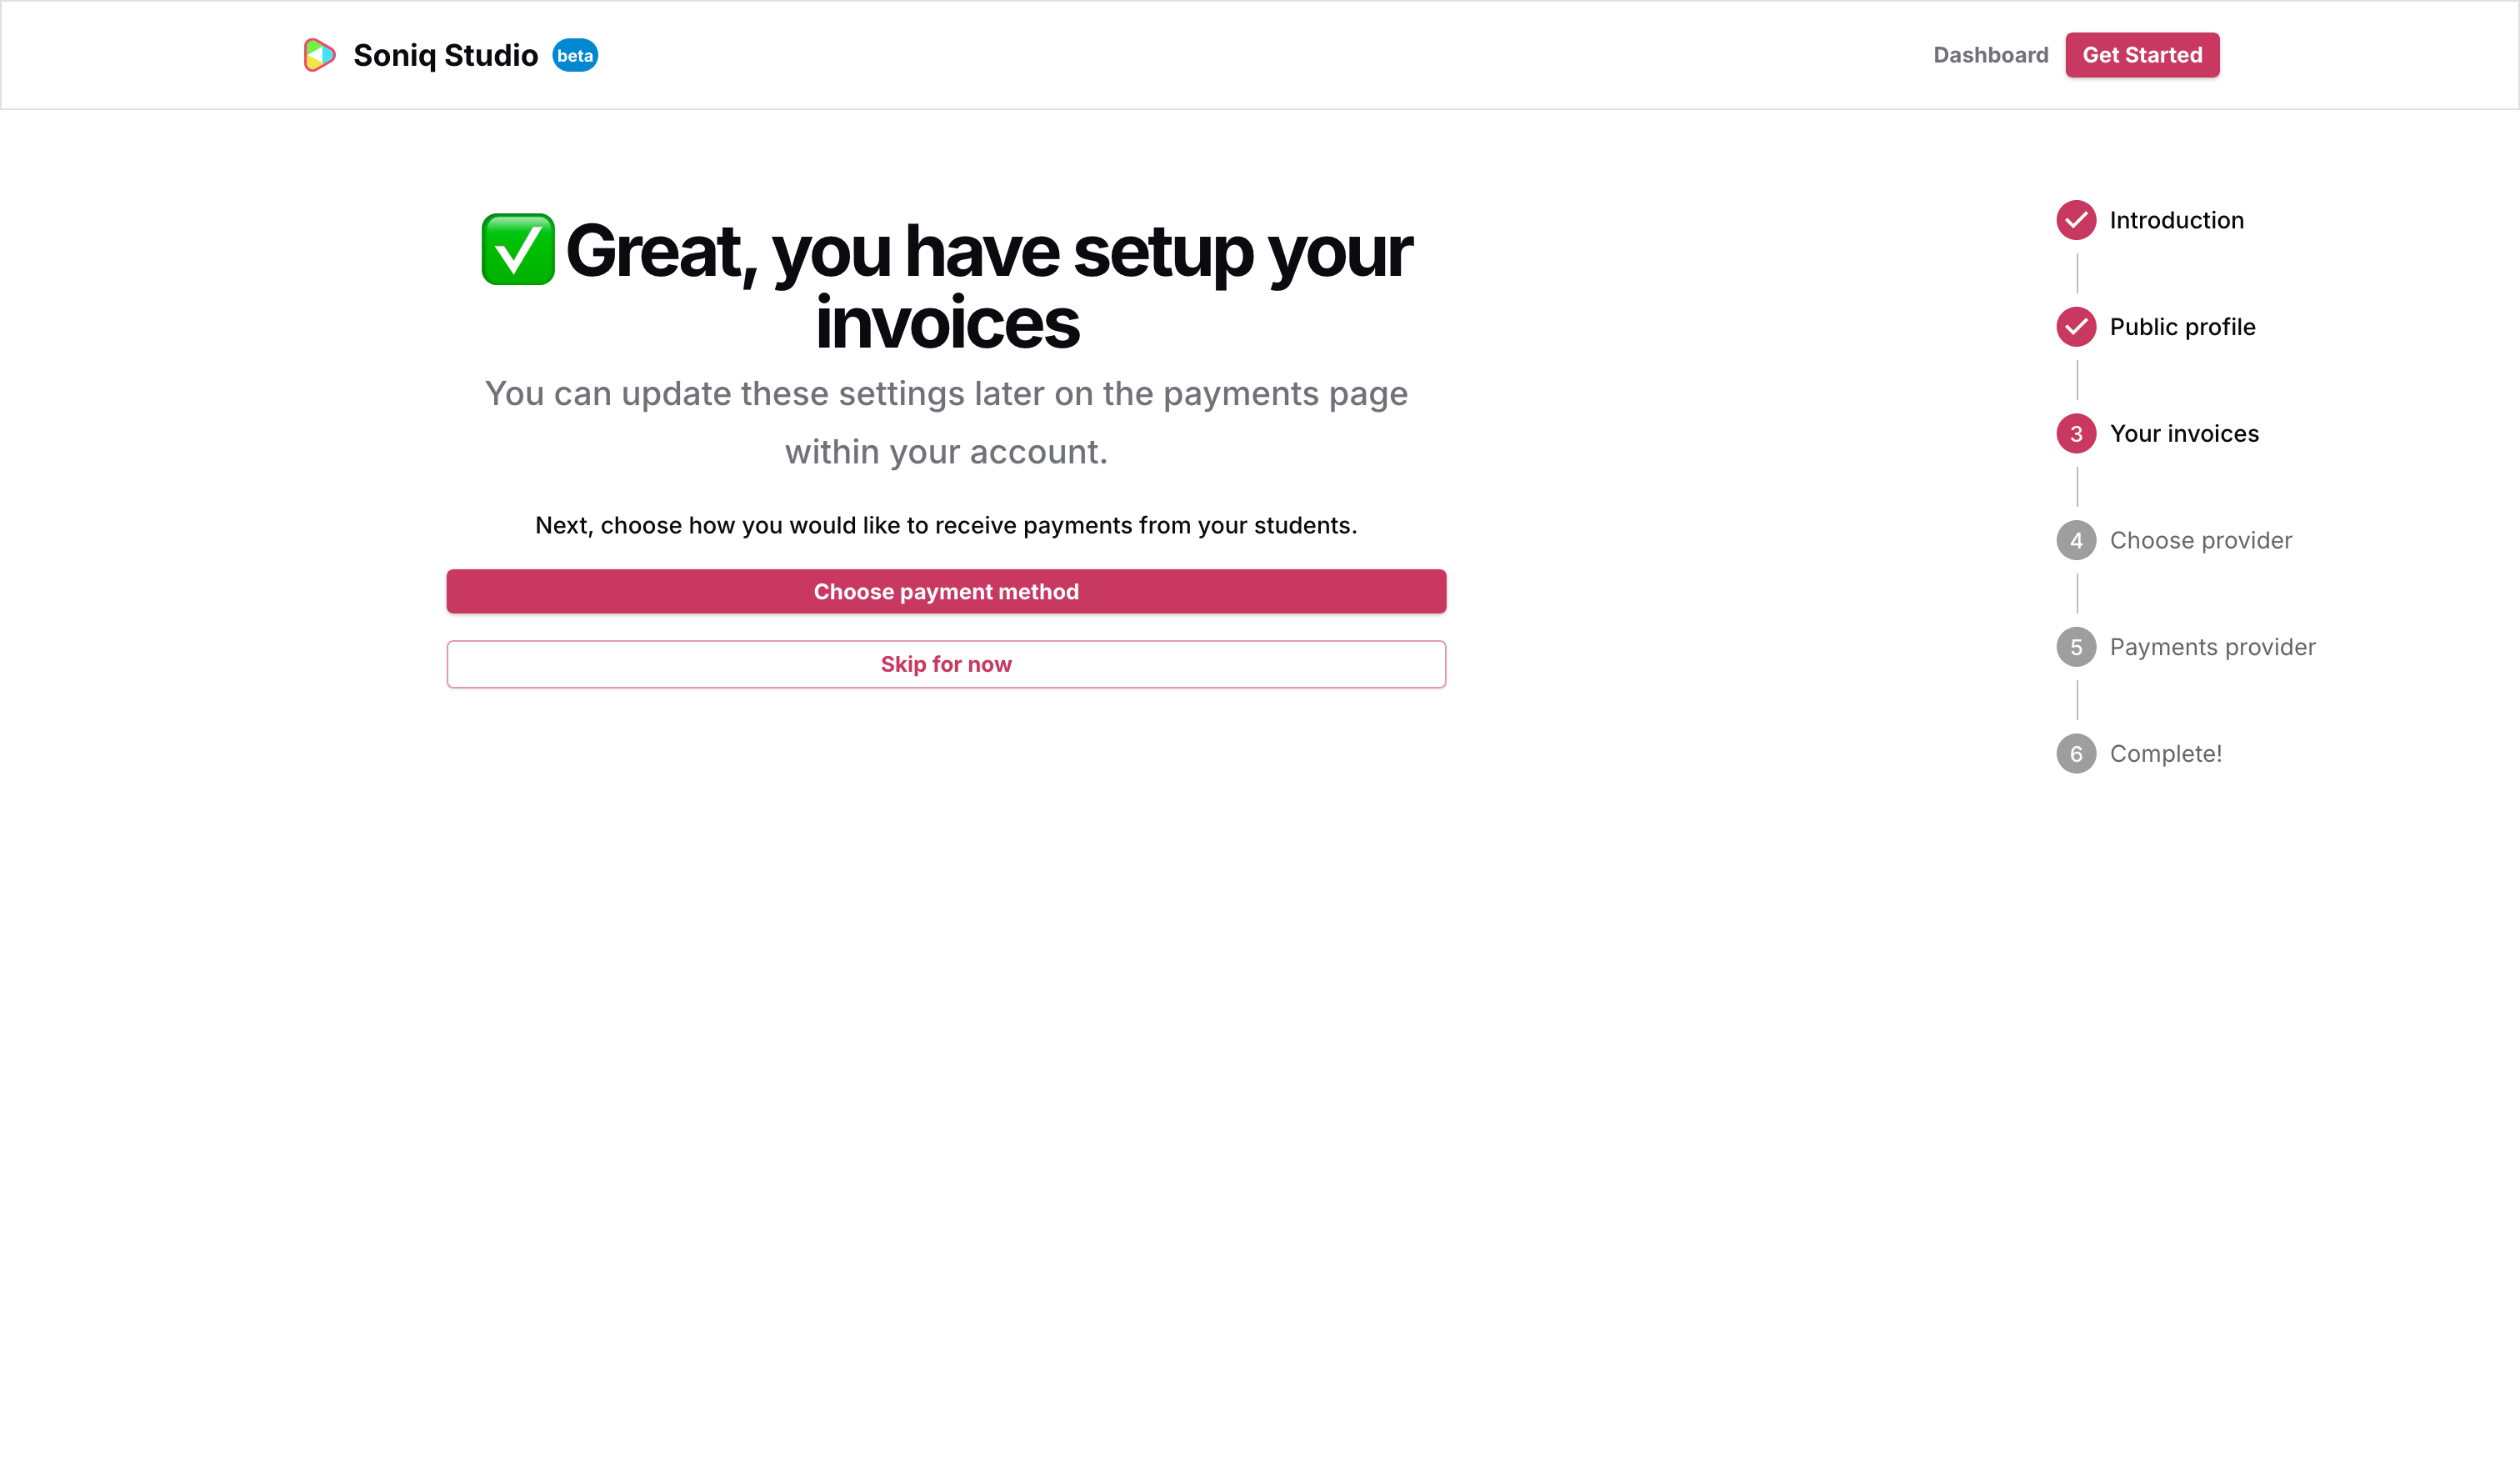
Choose a payment method
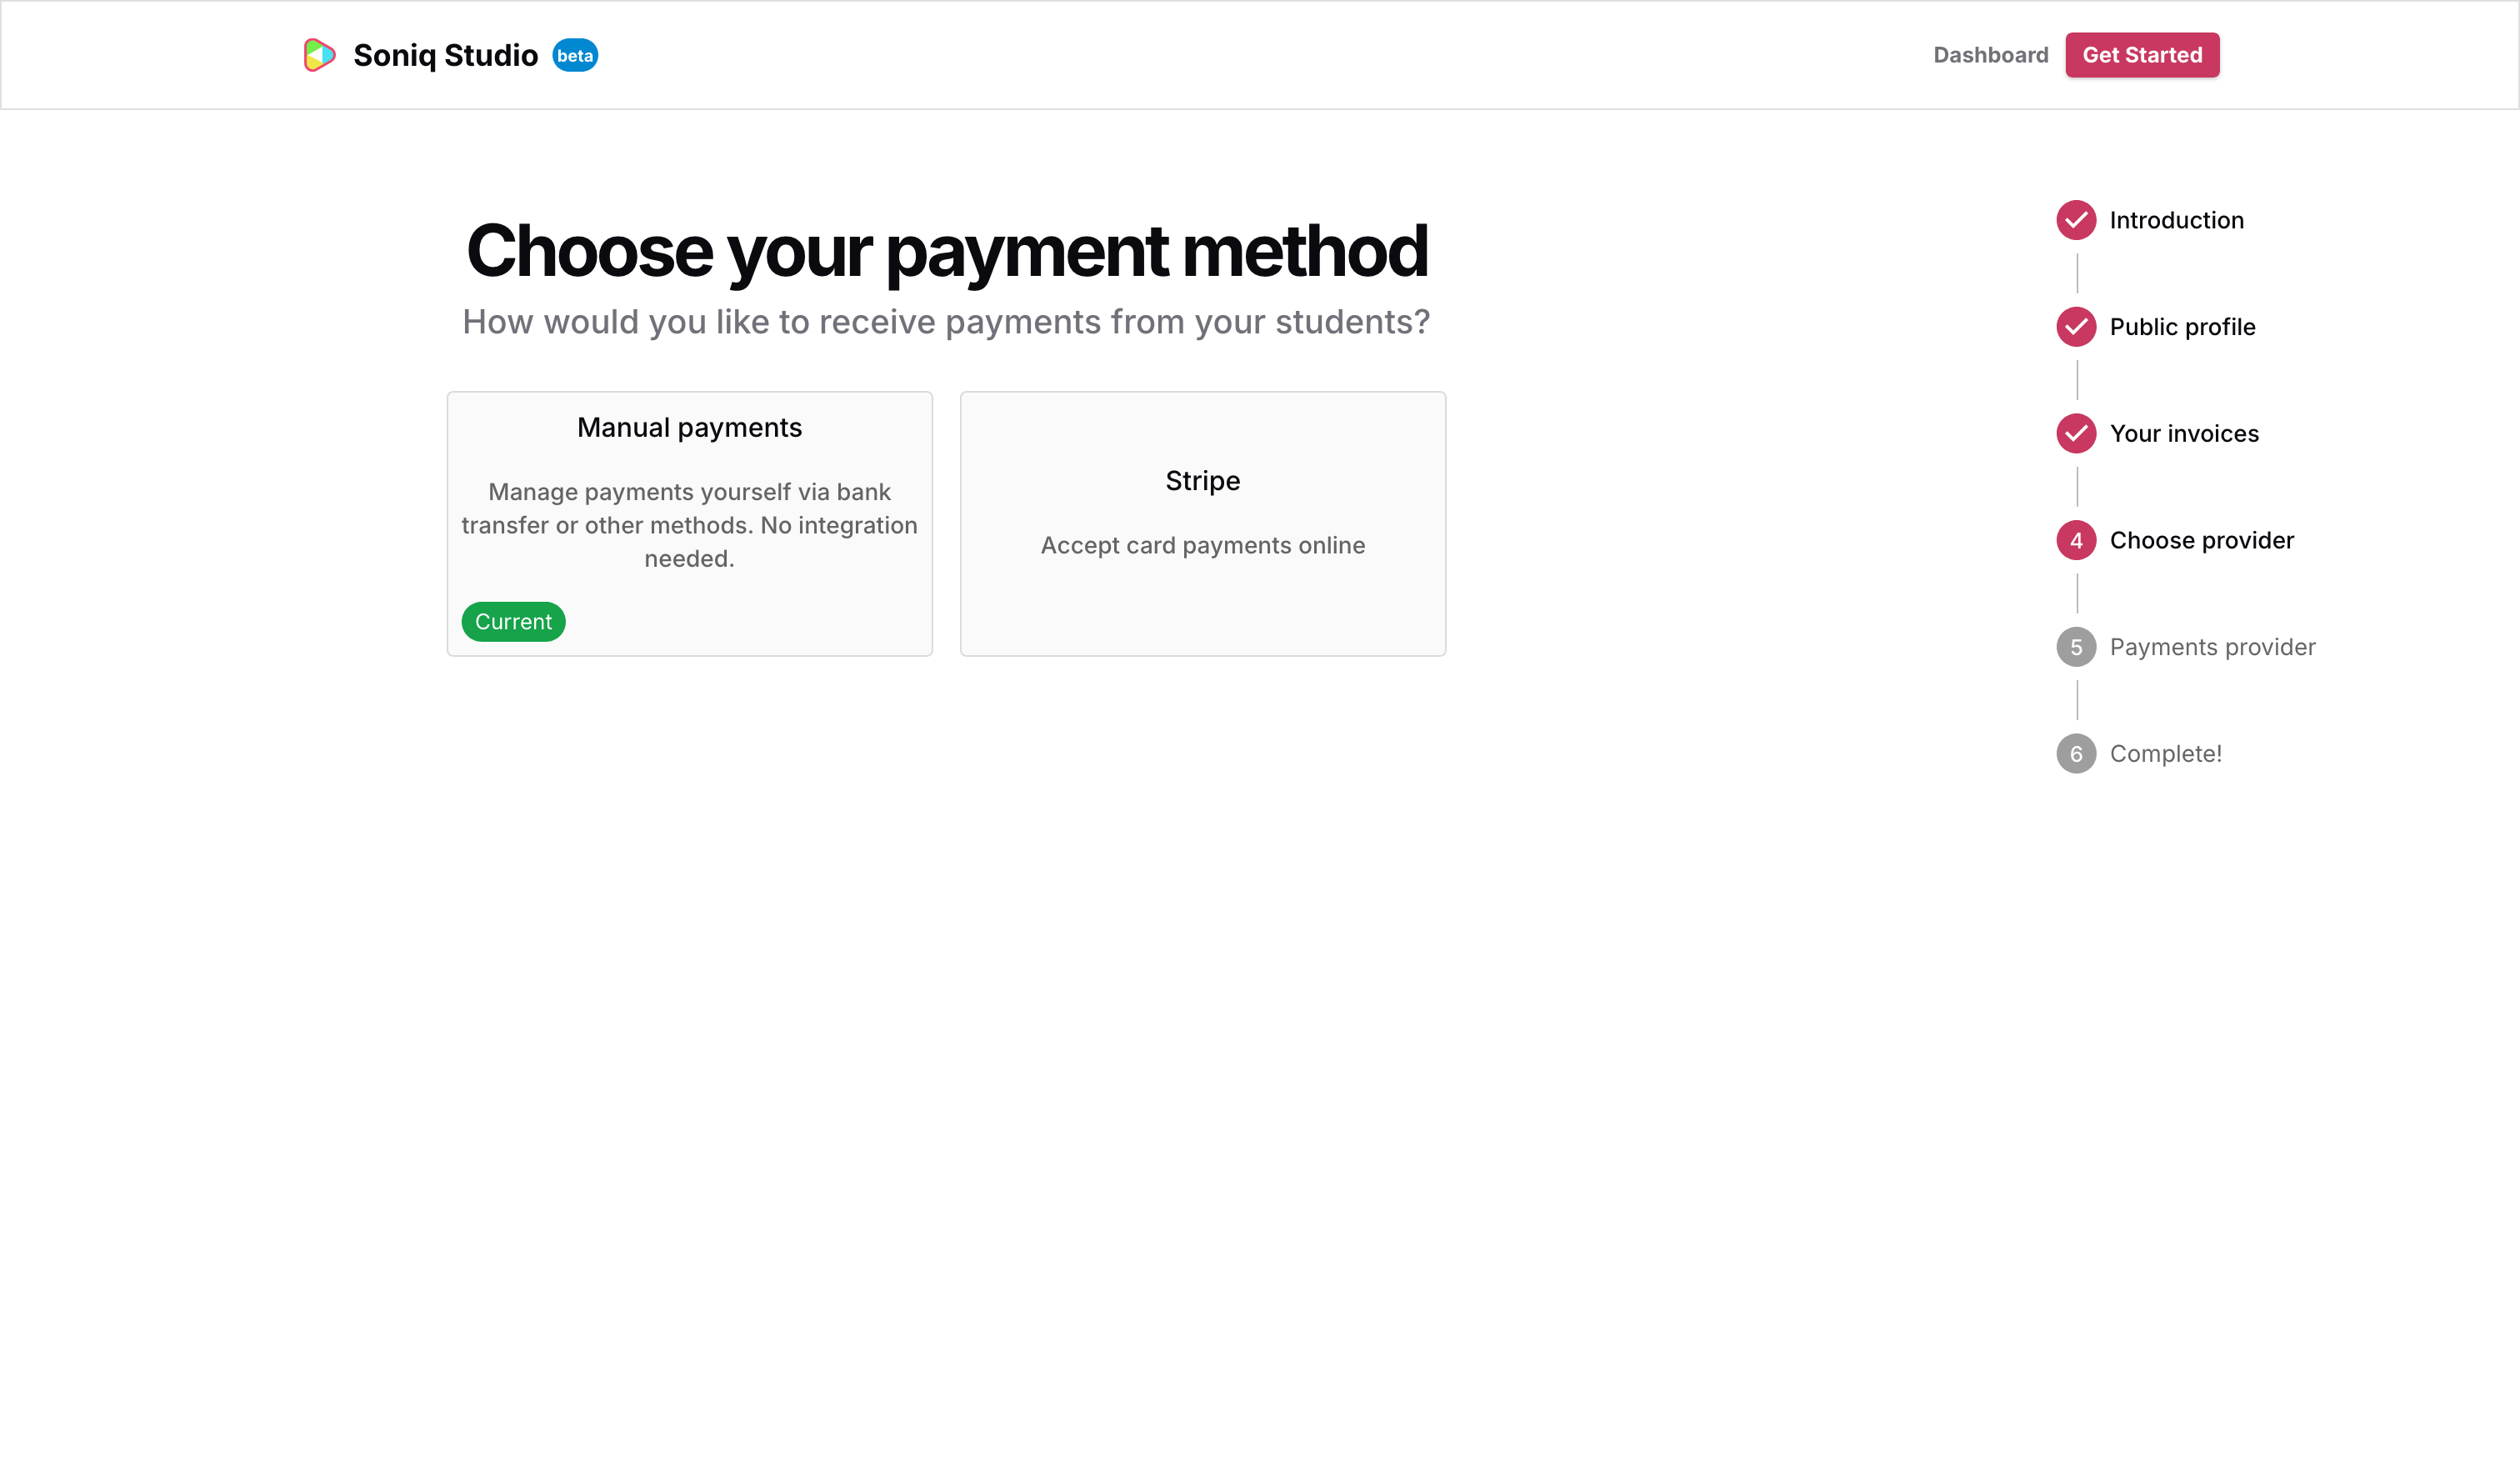
You have two options: Manual payments, where you manage payment yourself via bank transfer or any other method and no integration is needed; or Stripe, which lets students pay by card directly from their invoice. Soni starts with manual payments, which is marked as the current default.
Add your bank account
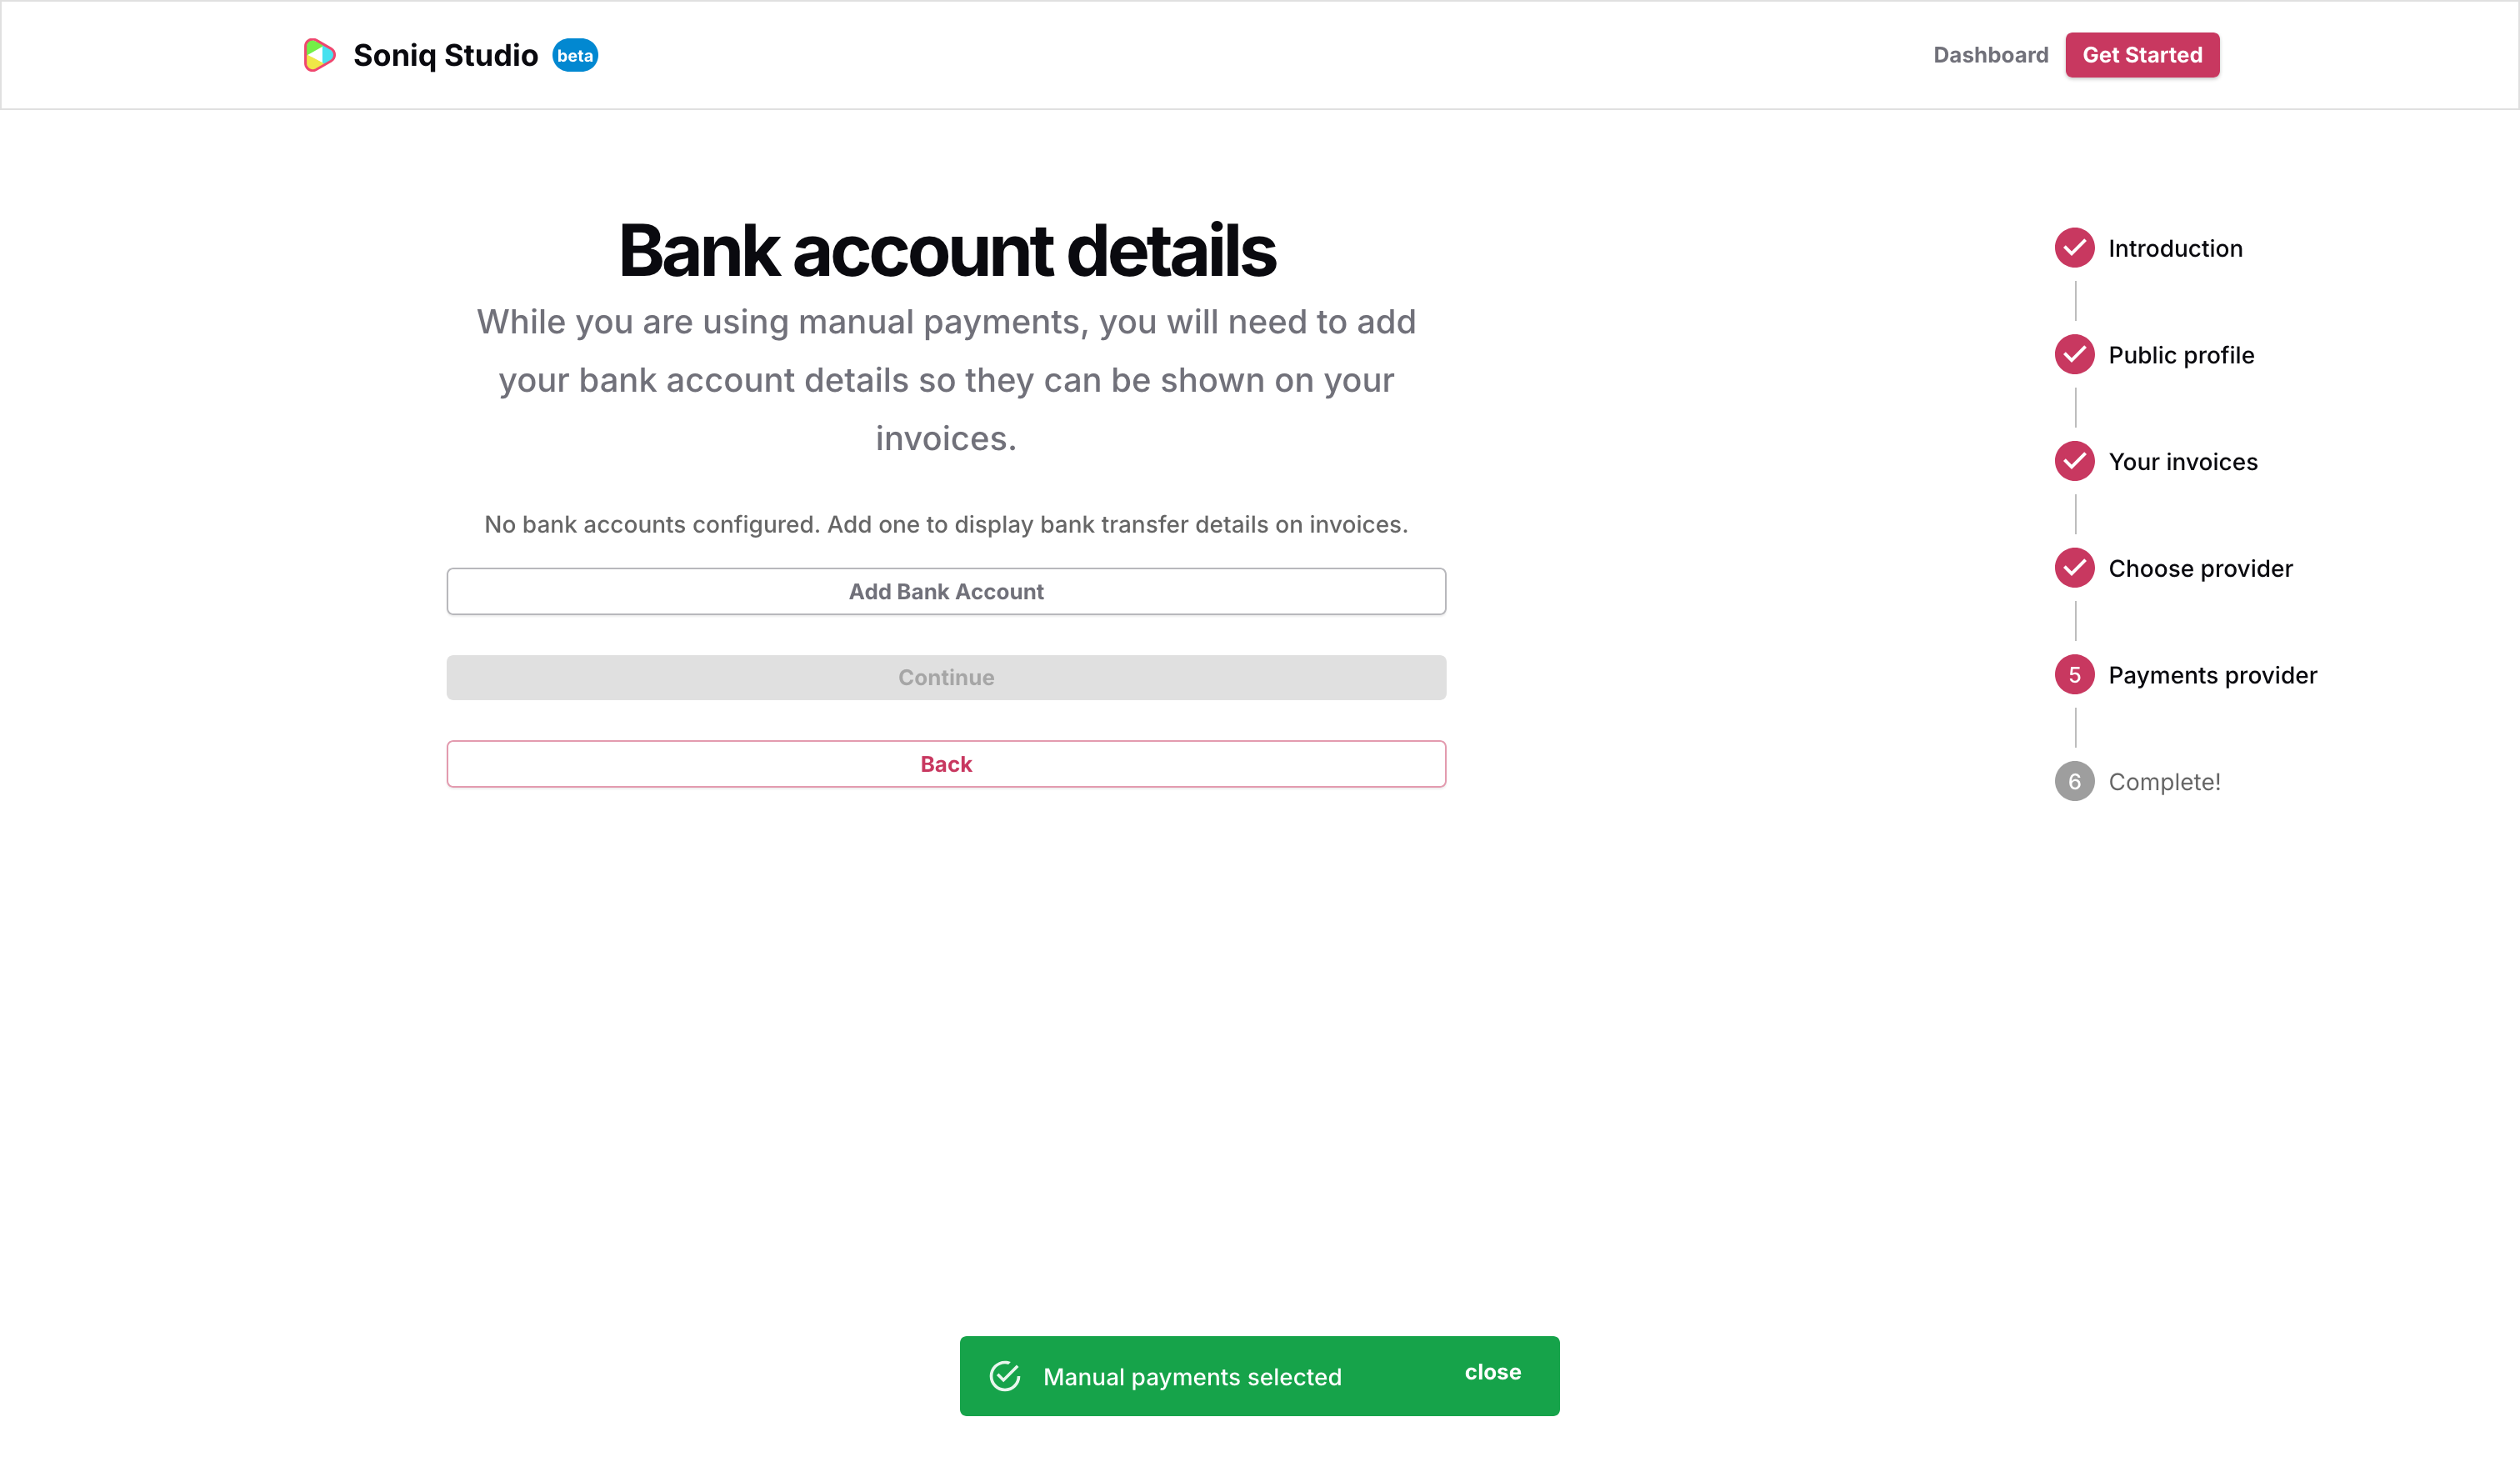
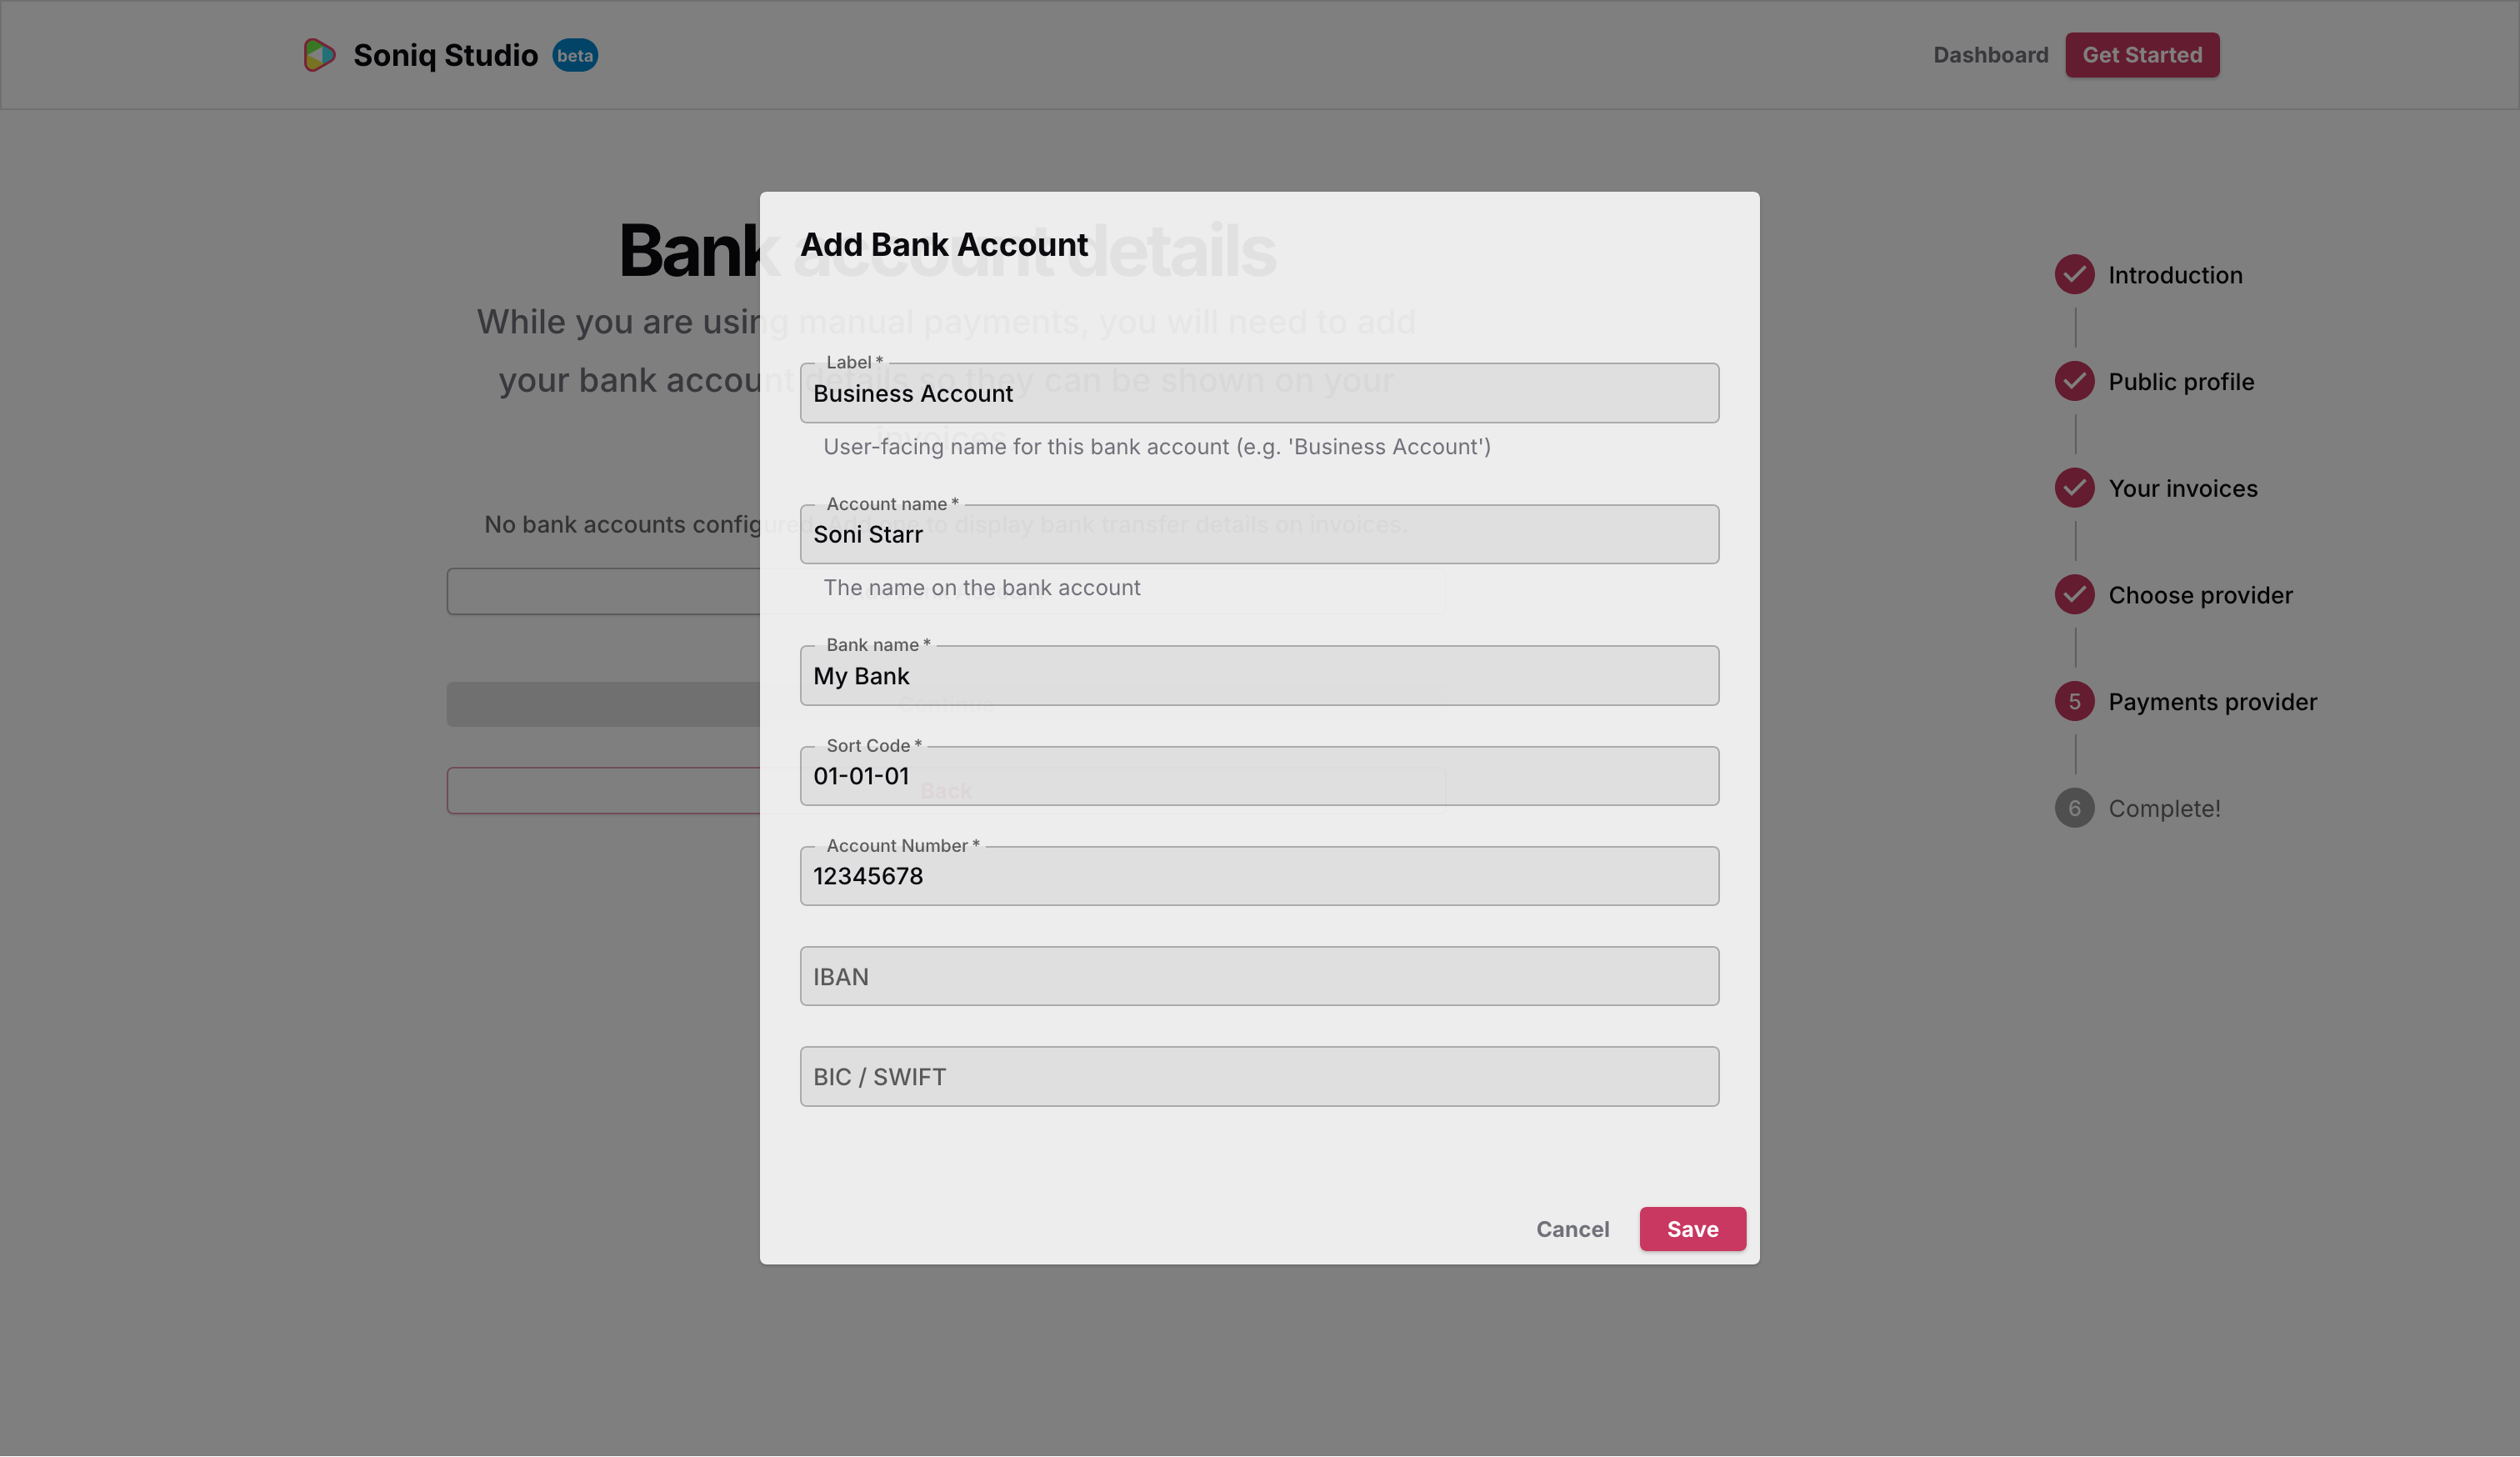
With manual payments selected, the next step is adding your bank account details so they can be printed on invoices. Click Add Bank Account and fill in the label, account name, bank name, sort code, and account number.
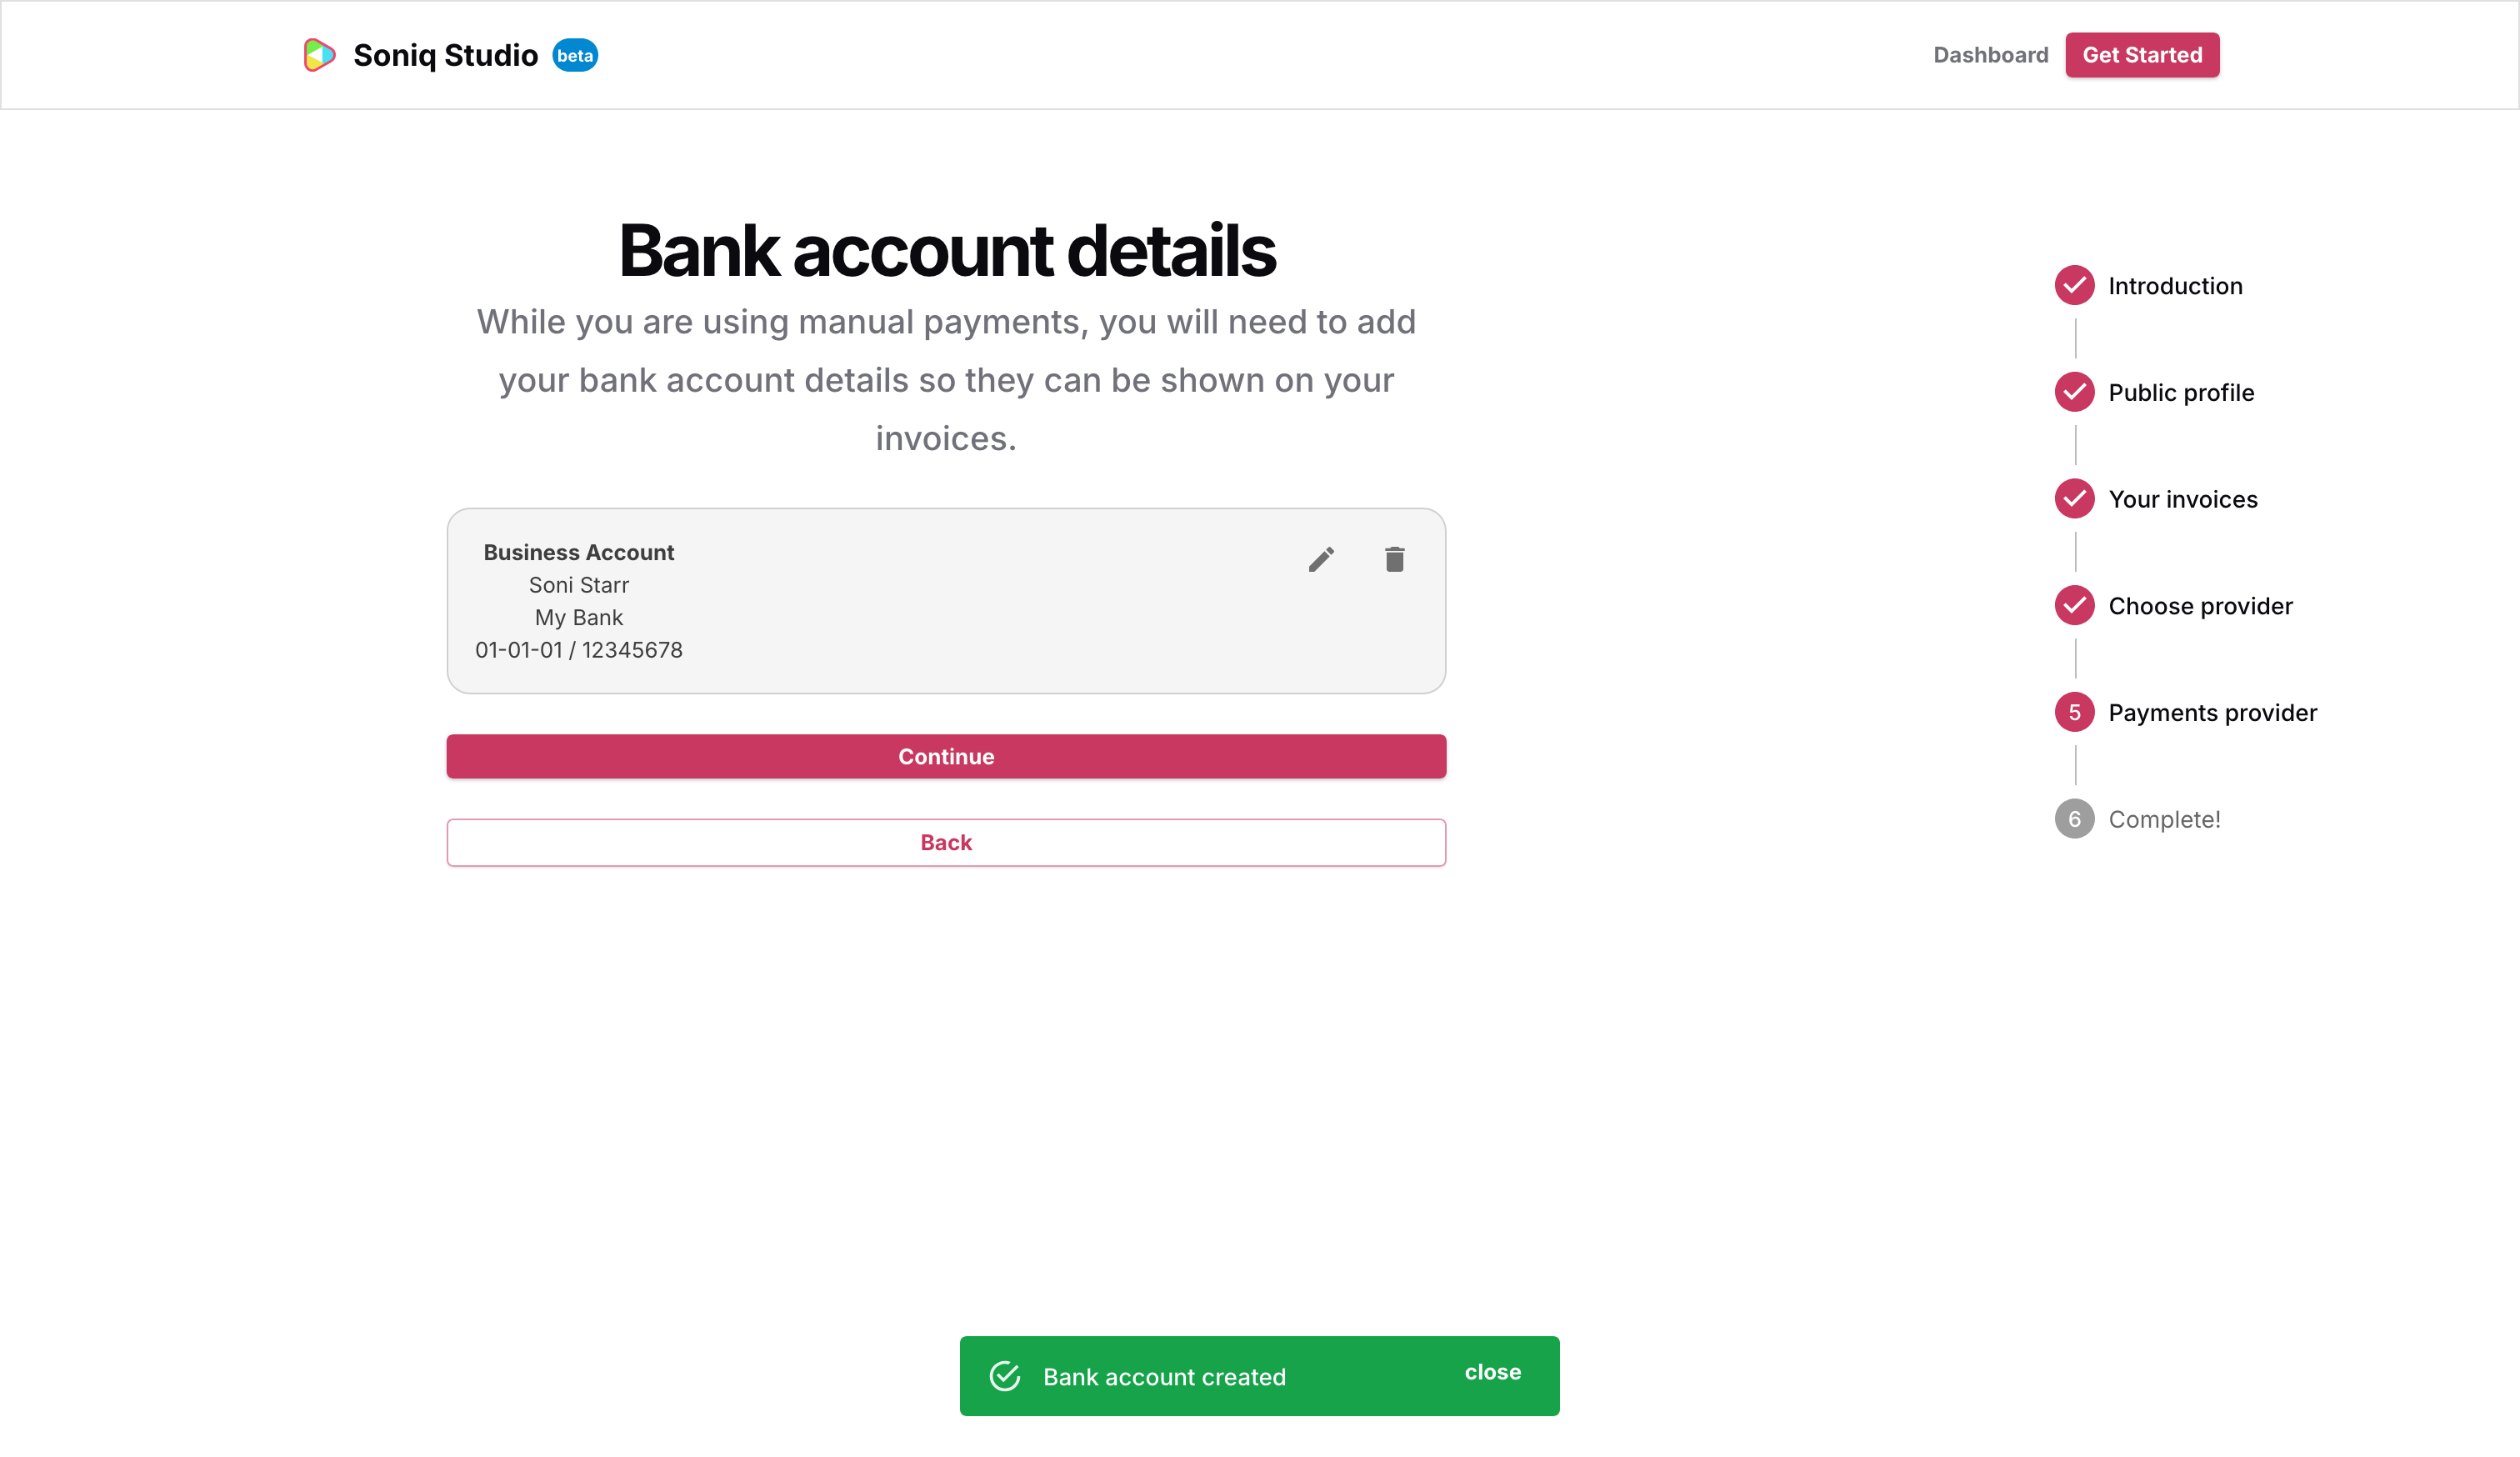
Once saved, the account appears in the list. Click Continue to finish.
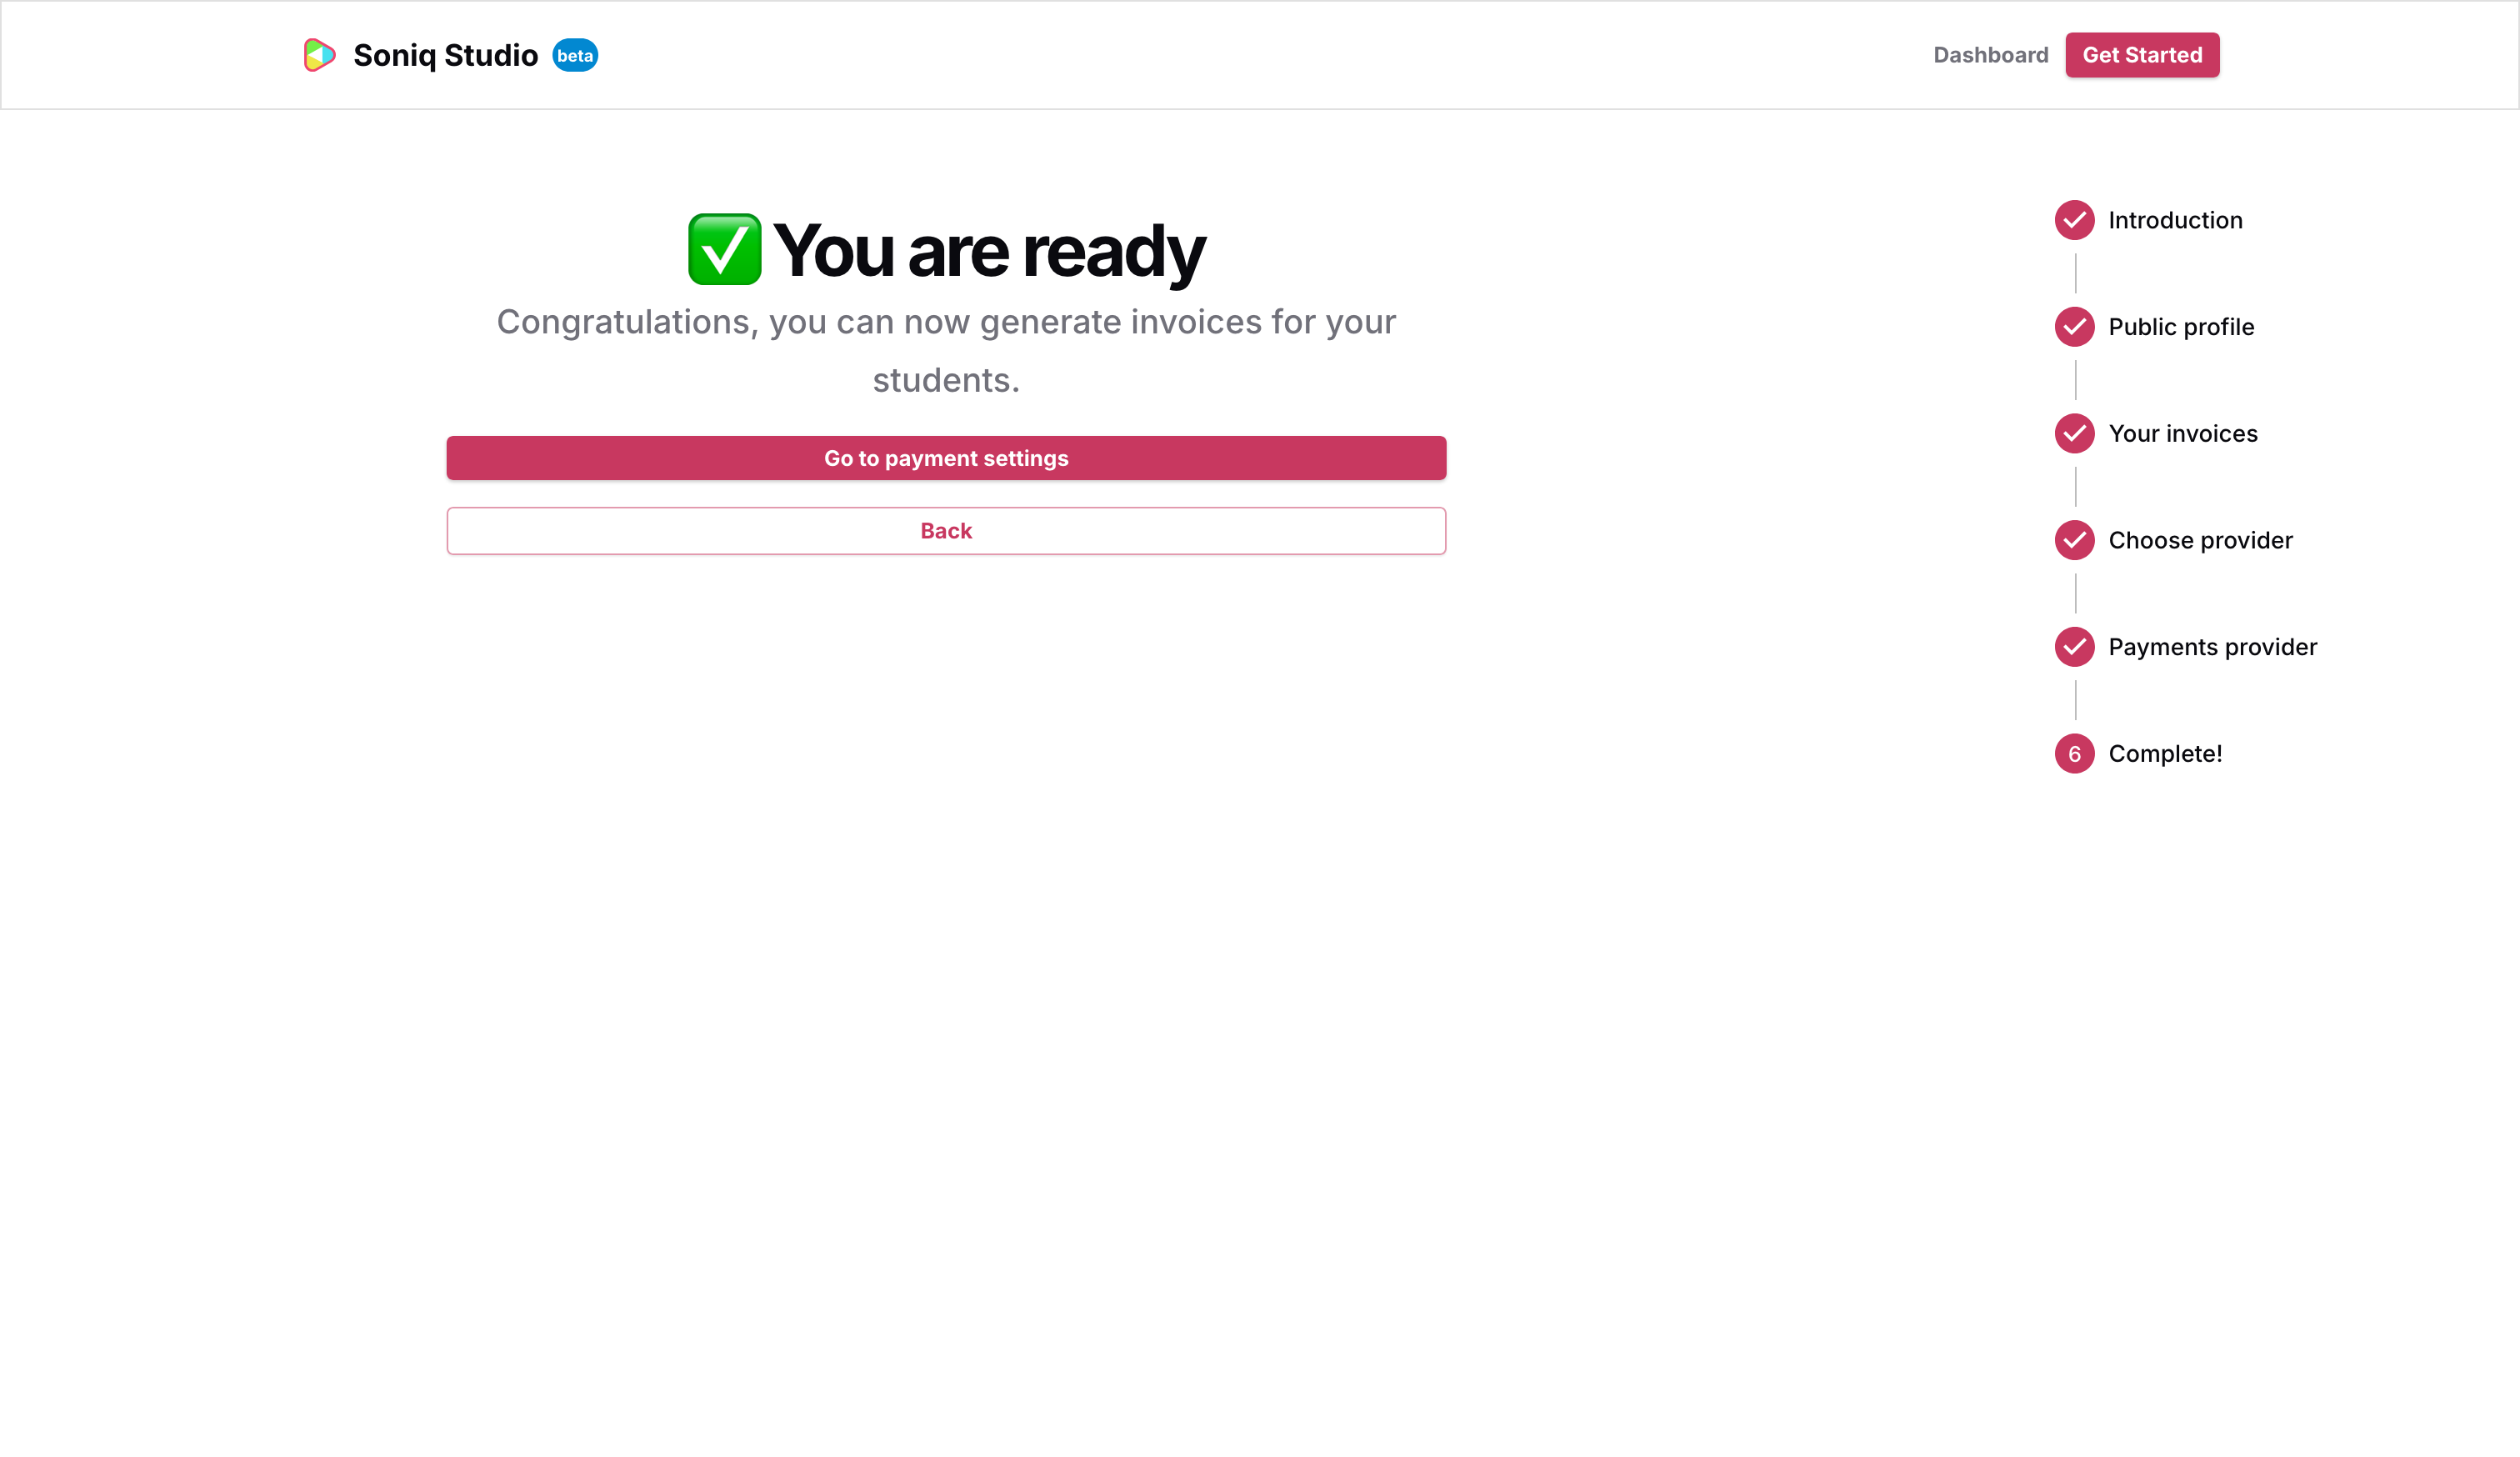
You’re ready
All six steps are now complete. Soniq Studio confirms you can start generating invoices for your students.
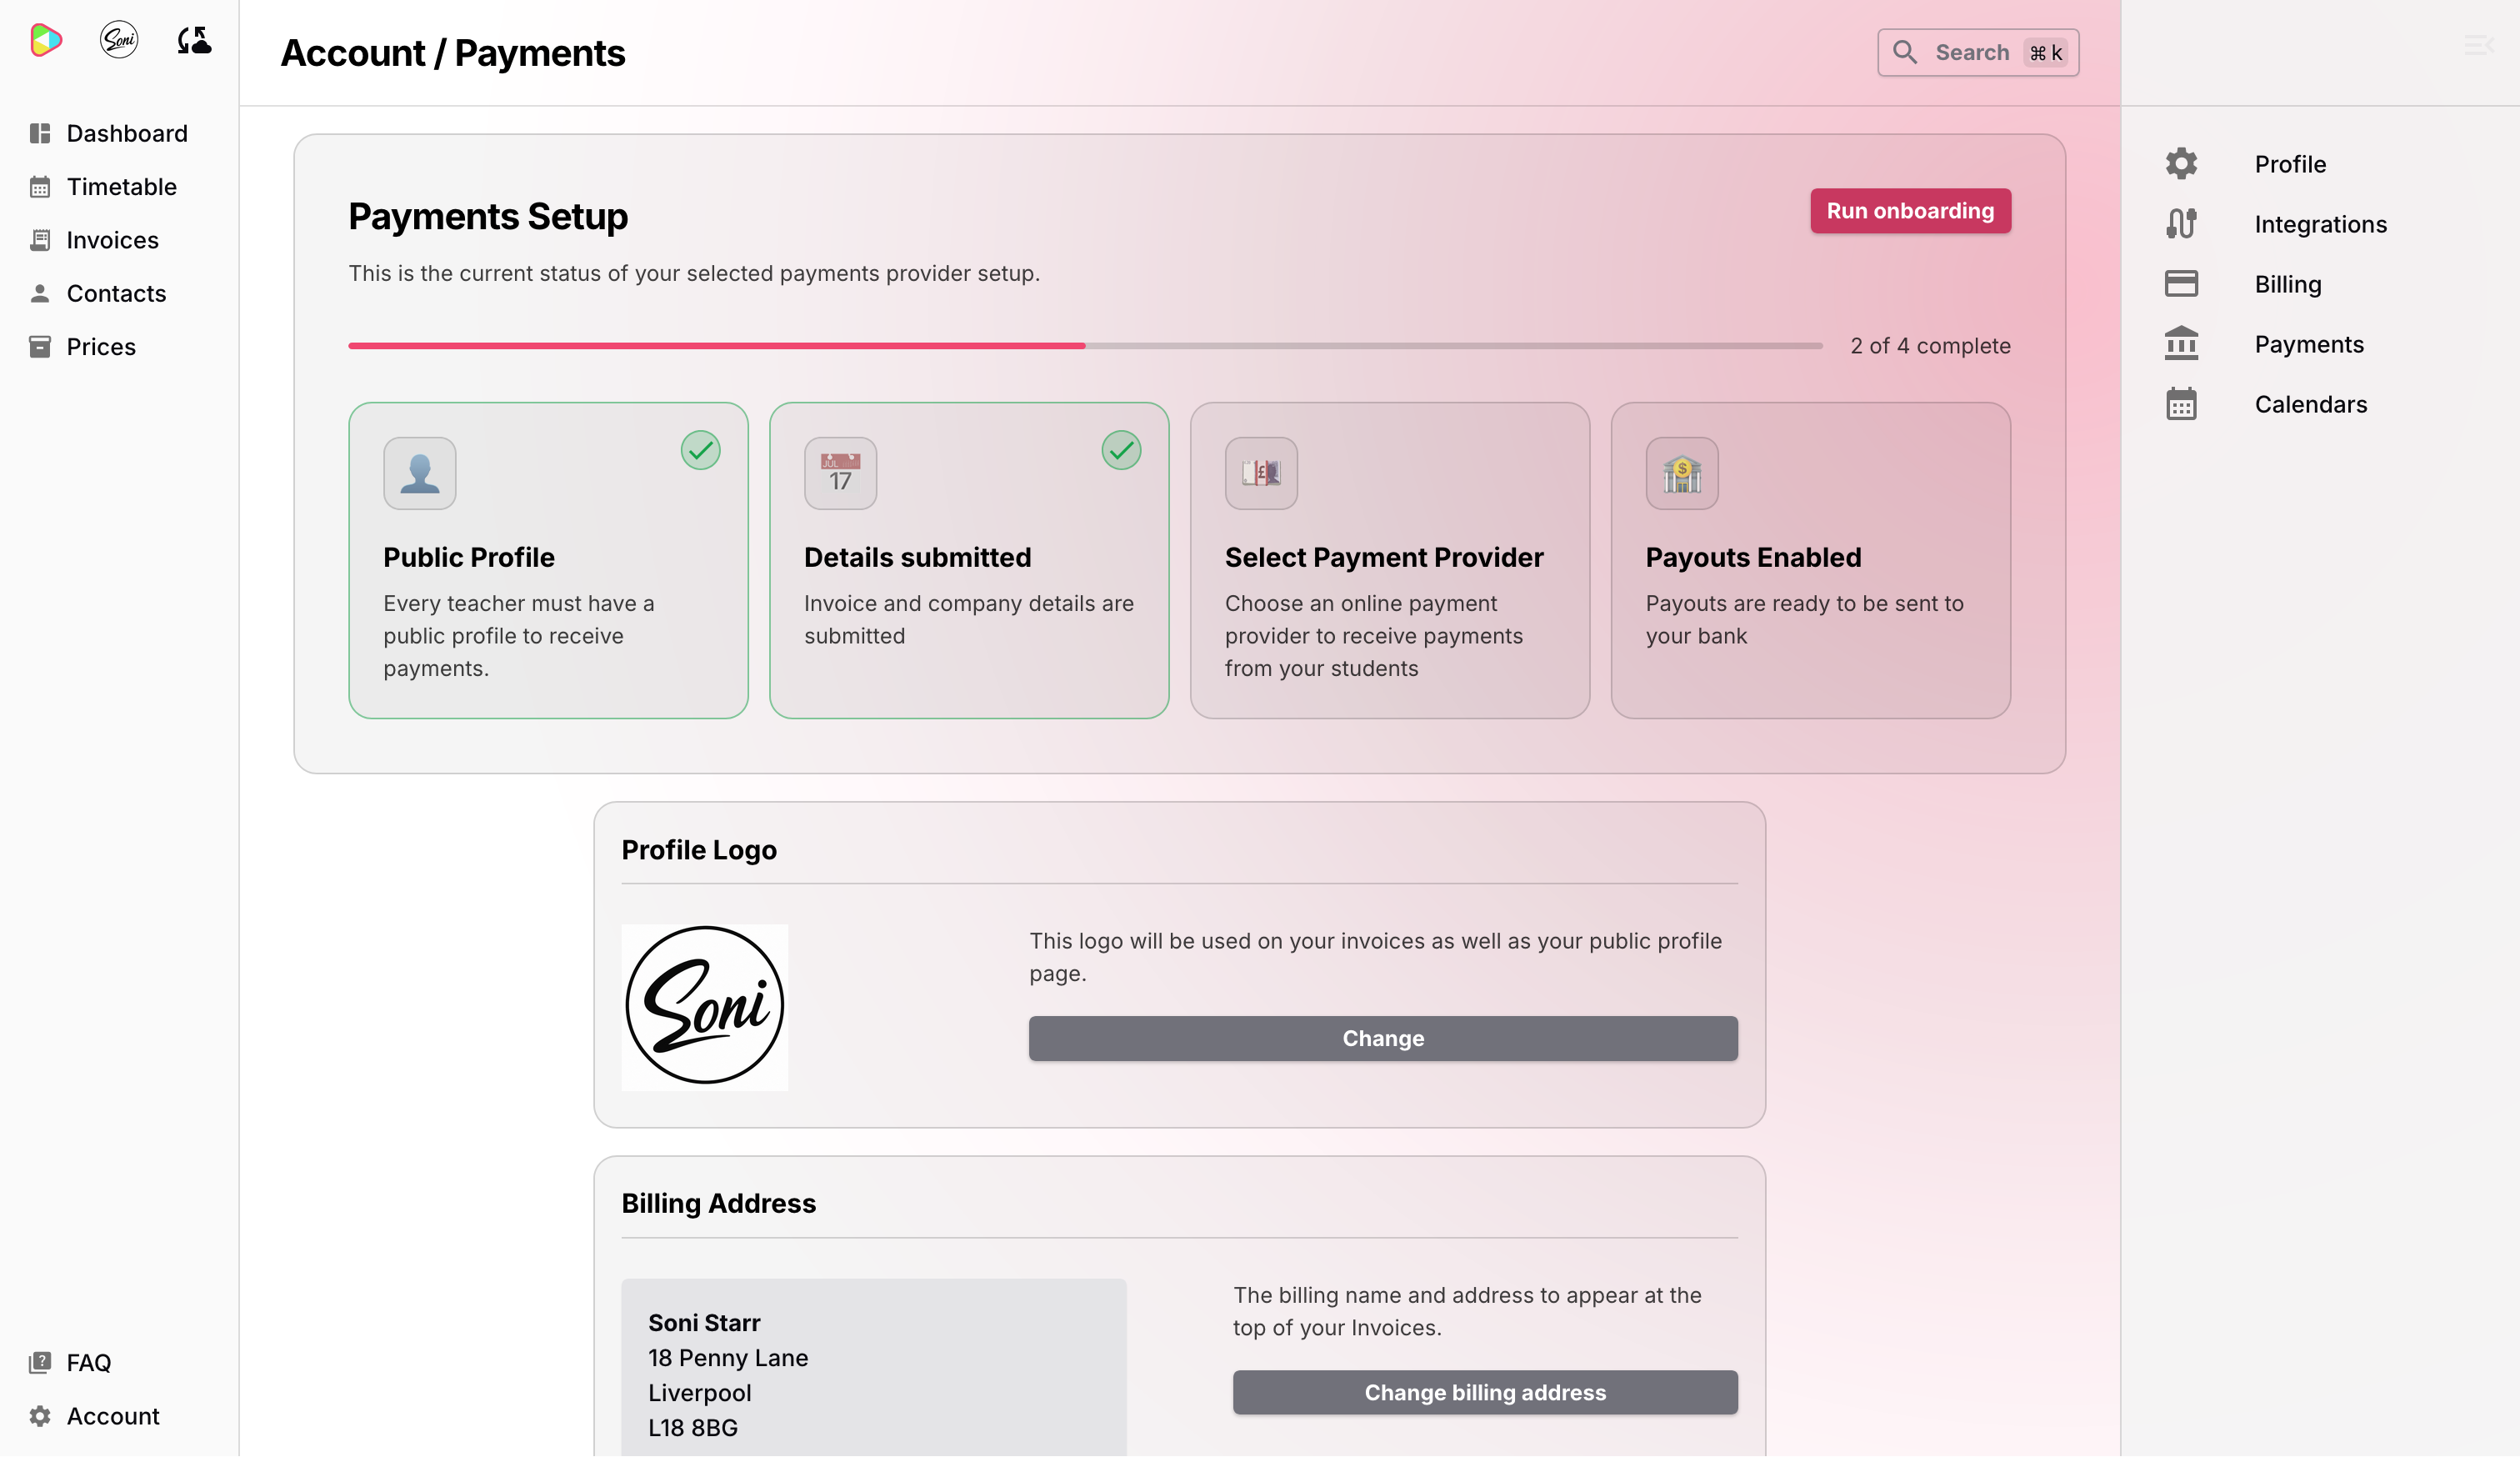
You can review and update everything at any time from Account → Payments, which shows the current status of each setup stage alongside your logo and billing address. Using the manual payment option is a great way to get started and try out the platform — we cover setting up online payments with Stripe in a separate article.